
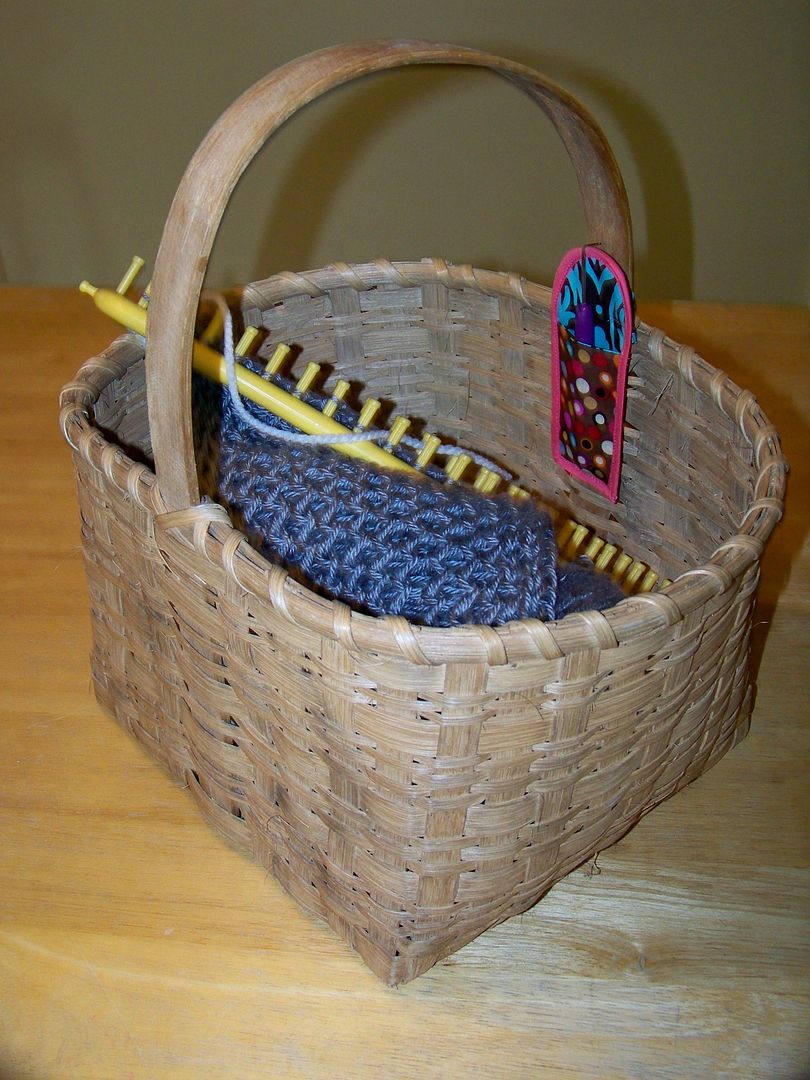
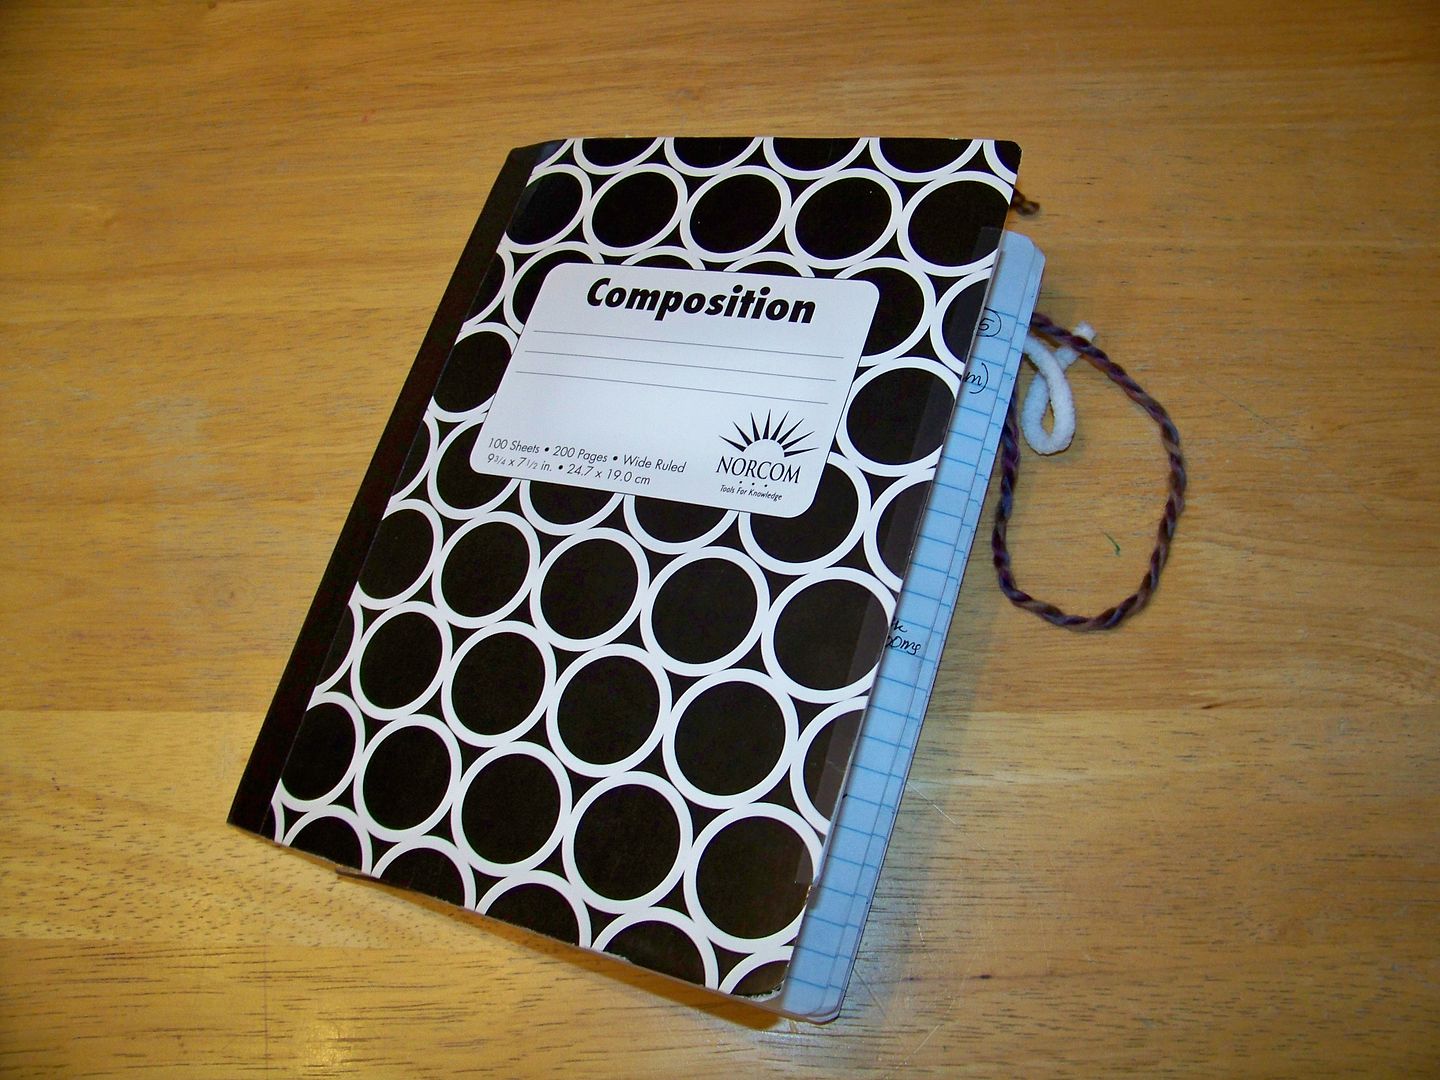
I decided I wanted a little pouch for the handle of my basket to make my knitting tool easily accessible and a portfolio for all the rest of my stuff (since everthing other than the knitting tool is used much less in the process) for the bottom of my basket. I keep a journal in my basket too, to note stitch patterns, projects, yarns, and ideas. I wanted my pens and stapler to have a spot in the portfolio too!
In the event that you have the same interest in making some little accessories for your knitting basket, these are my instructions:
Materials to make both projects
- 1/2 yard decorative fabric (blue/brown print in the photos)
- 1/3 yard of contrasting decorative fabric (brown dots in the photos)
- package of doublefold bias tape
- For the portfolio, you will need a pencil pouch, 5/8 yard of 1/2" wide ribbon, and a decorative button.
- 1/3 yard boot pellon inside both projects. Boot pellon is a stiff, heavy, non-woven interfacing. It is about the thickness of the felt squares you see at craft stores but very stiff like heavy watercolor paper. If you can't find boot pellon, you can use shade pellon or even fusible fleece to give body to the fabrics so that the finished projects will perform as pictured.
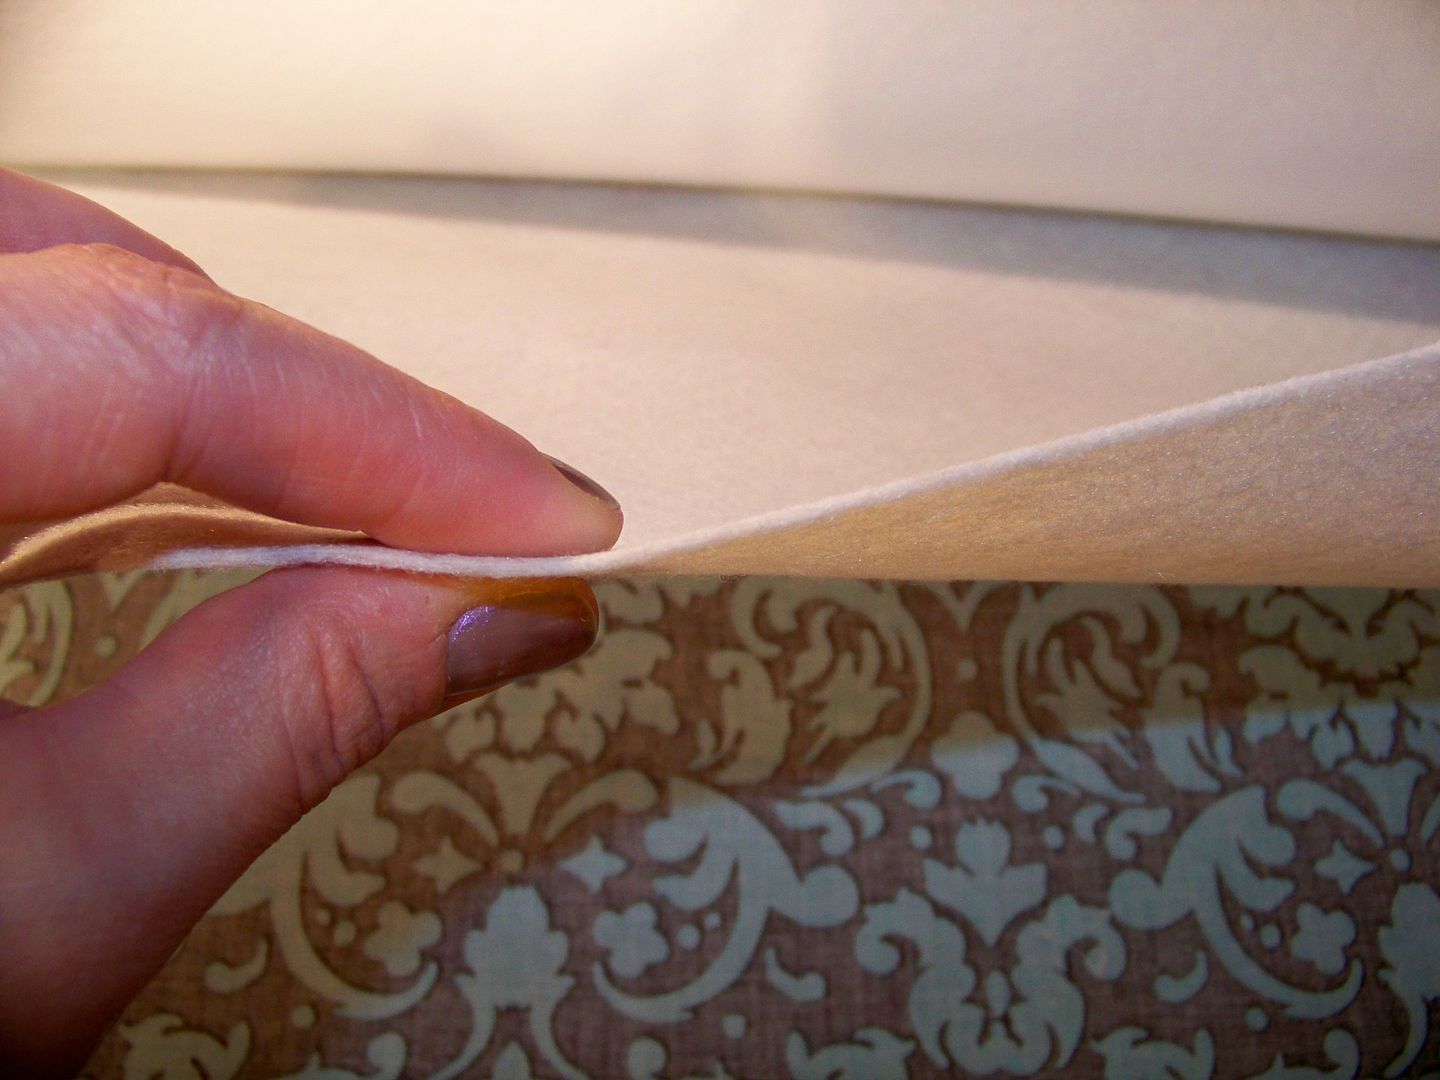 |
| Boot pellon is stiff like watercolor paper and thick like felt. |
Knitting Tool Pouch
- Click here to download my pattern pieces.
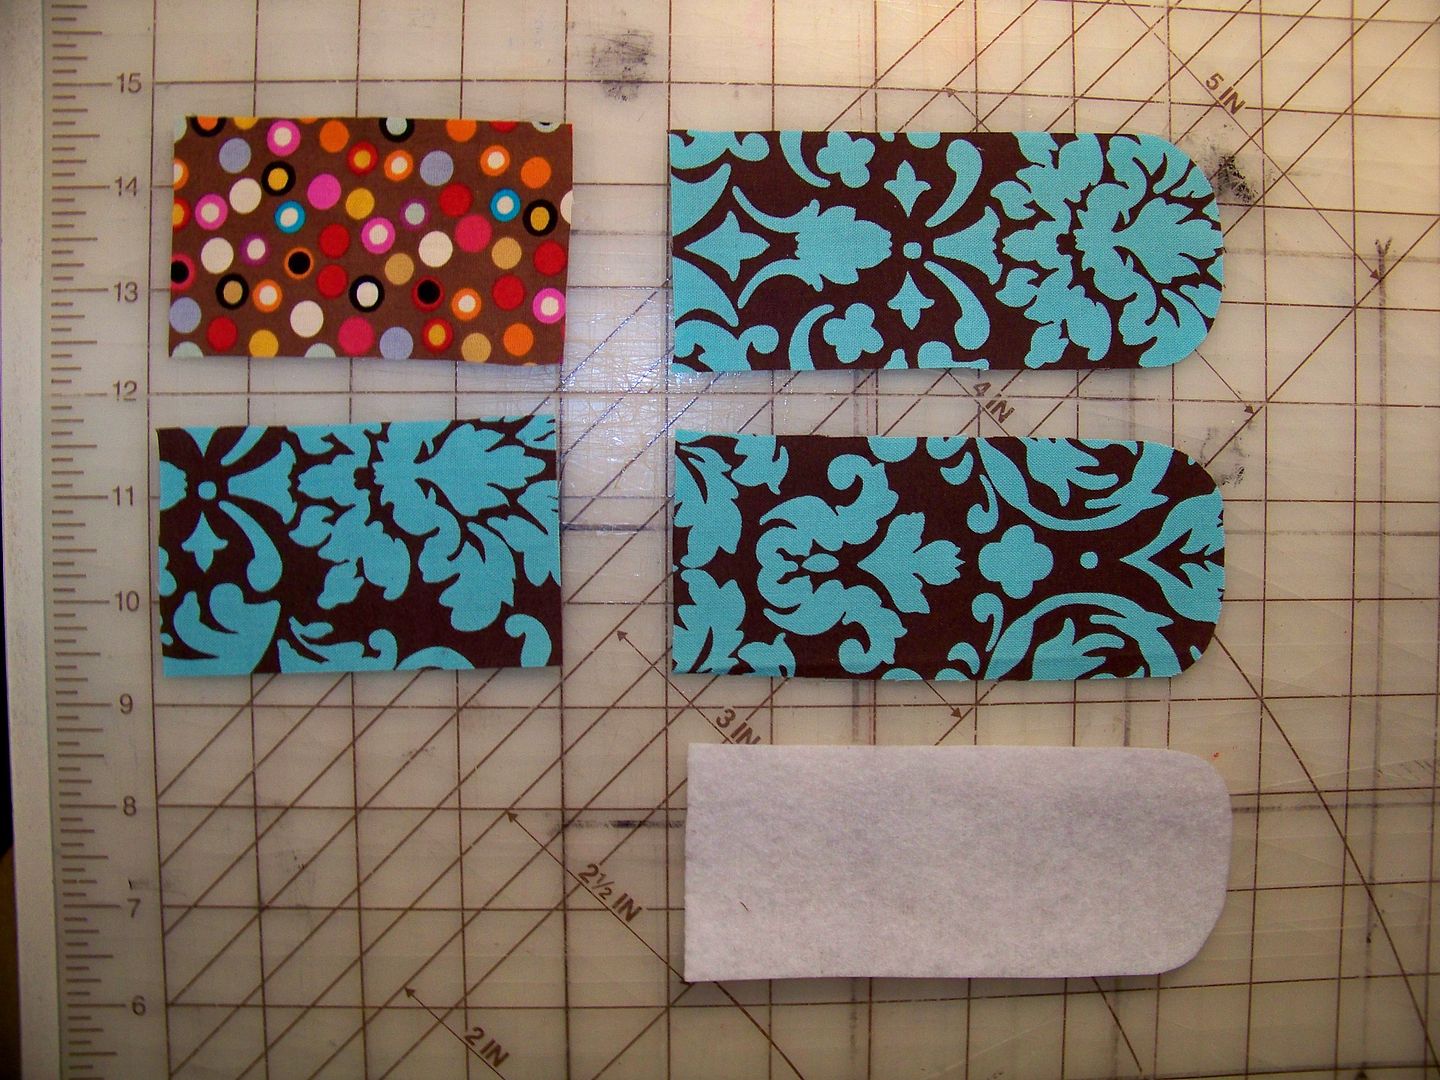
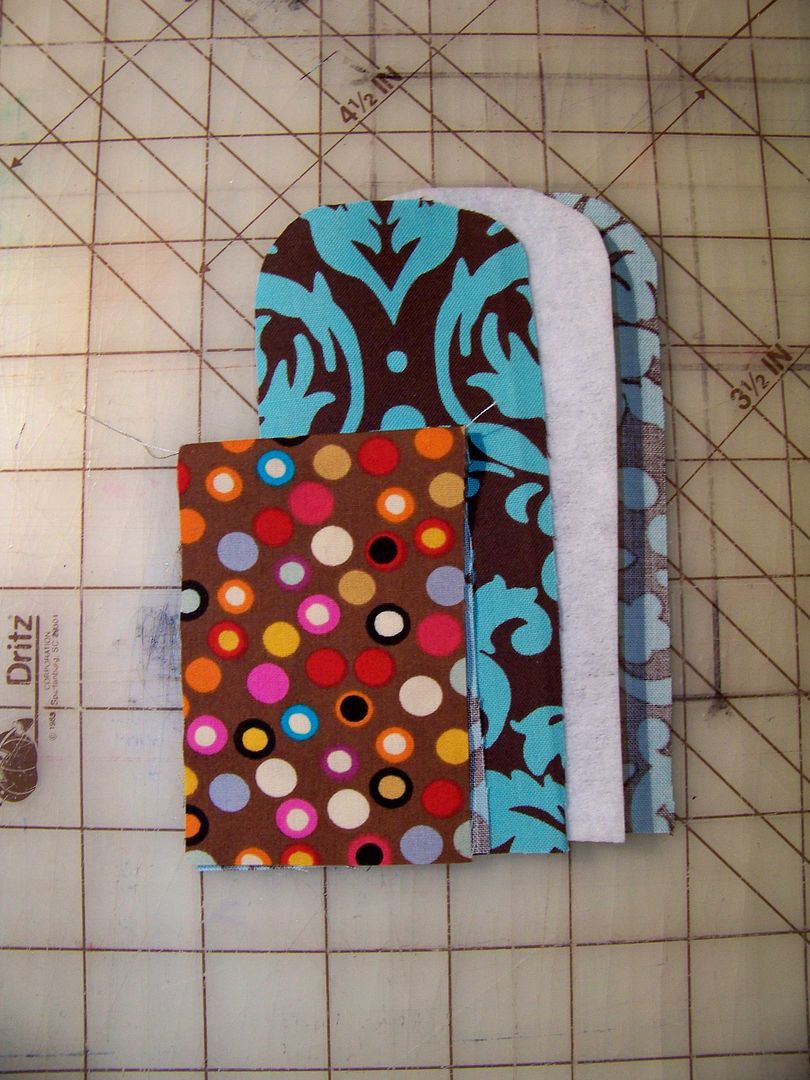
- Cut out the pieces:
Cut one base from boot pellon.
Cut one of the pocket for lining (I used the same decorative fabric).
Cut one of the pocket from contrast. (This is the one that will show).
Cut one fabric tie (not pictured below).
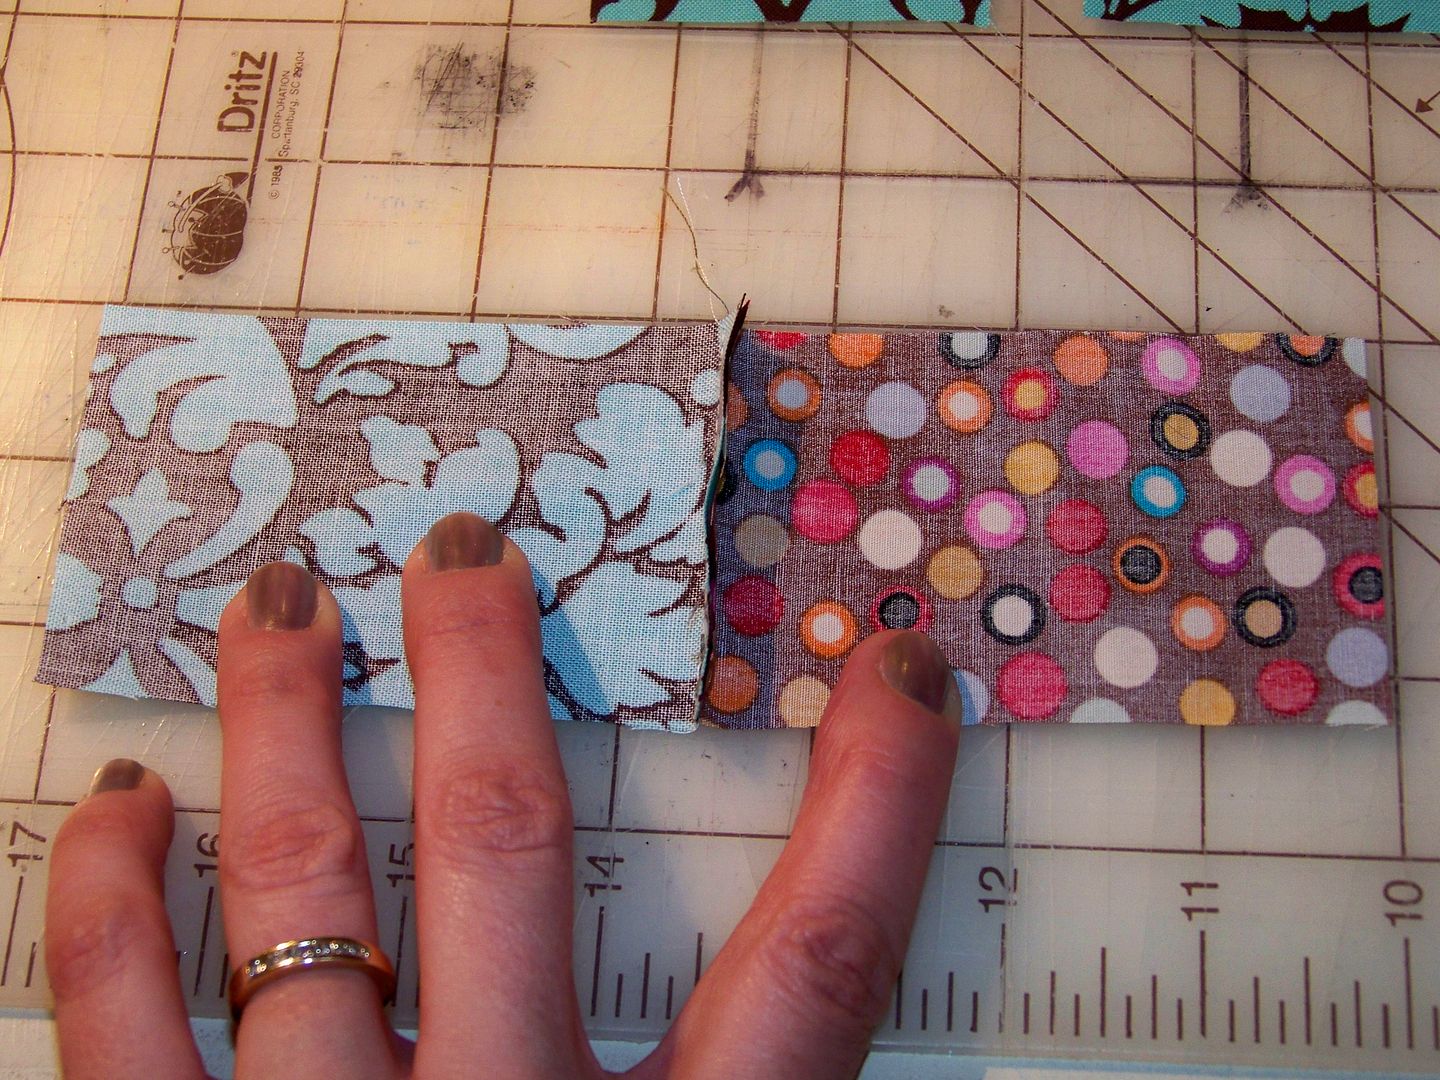
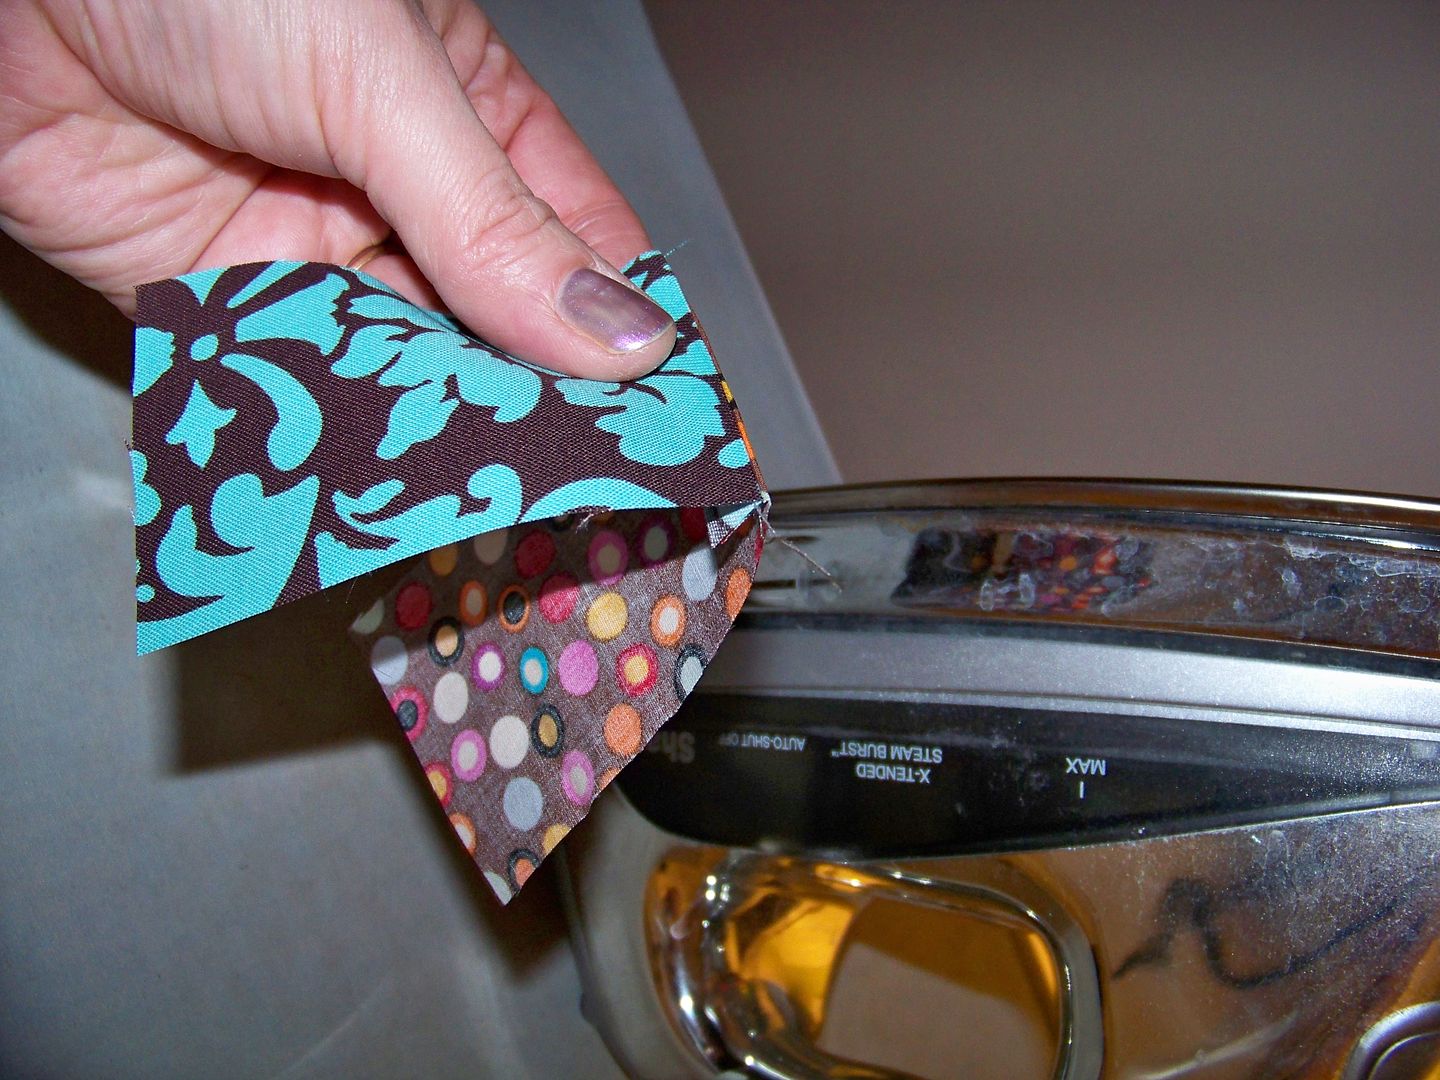
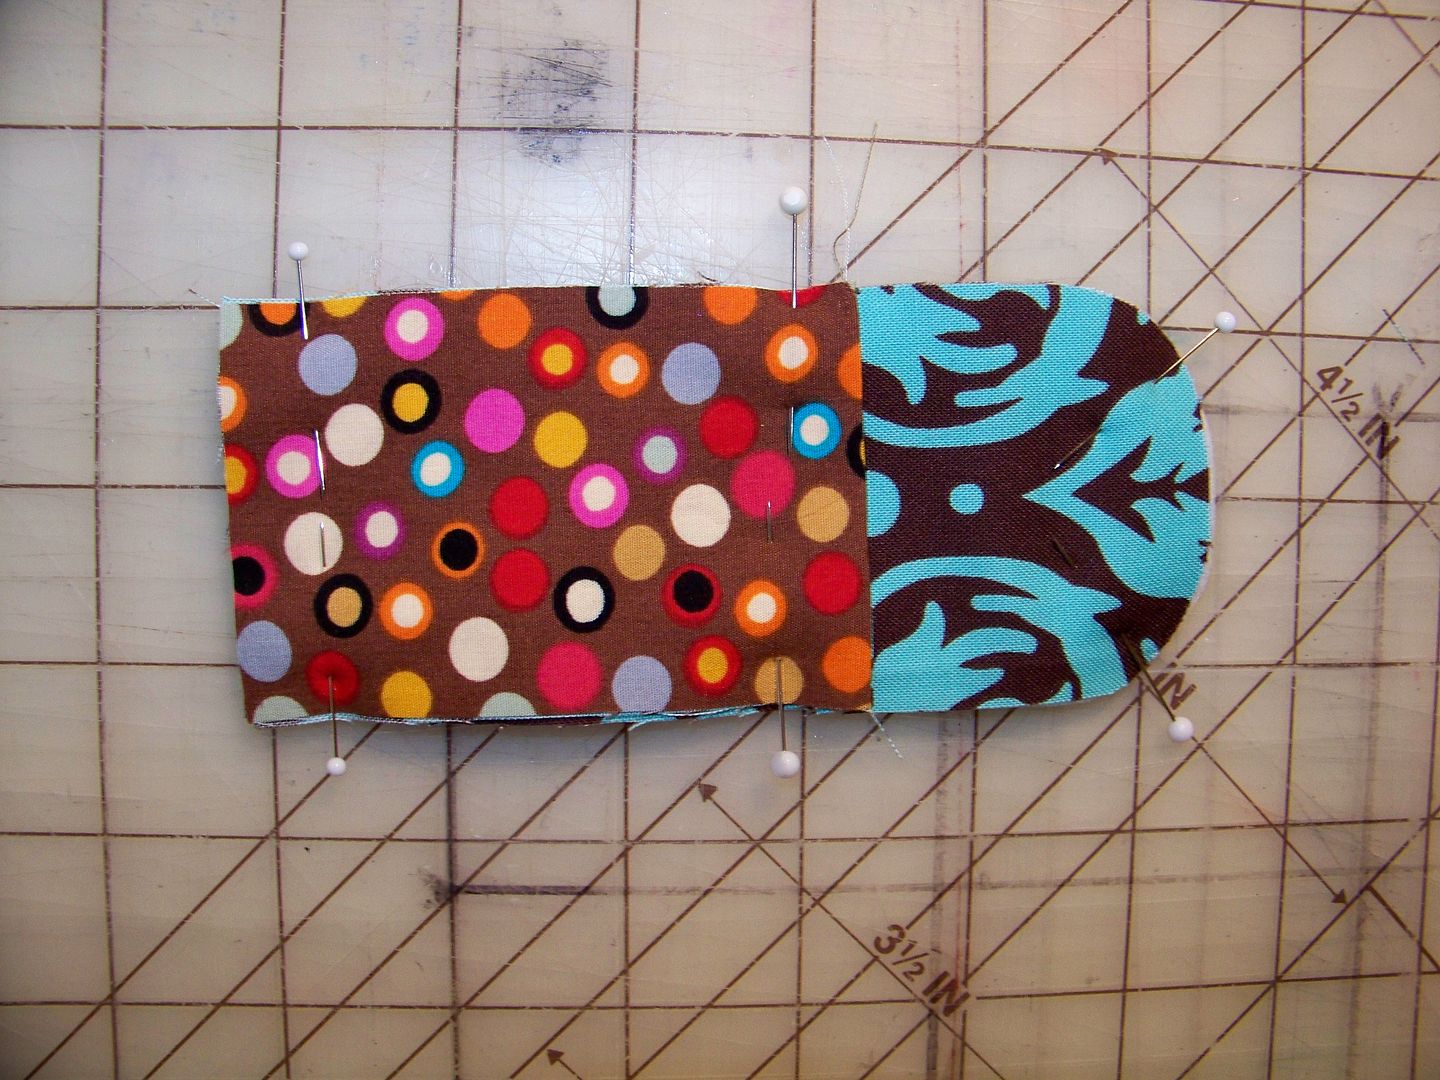
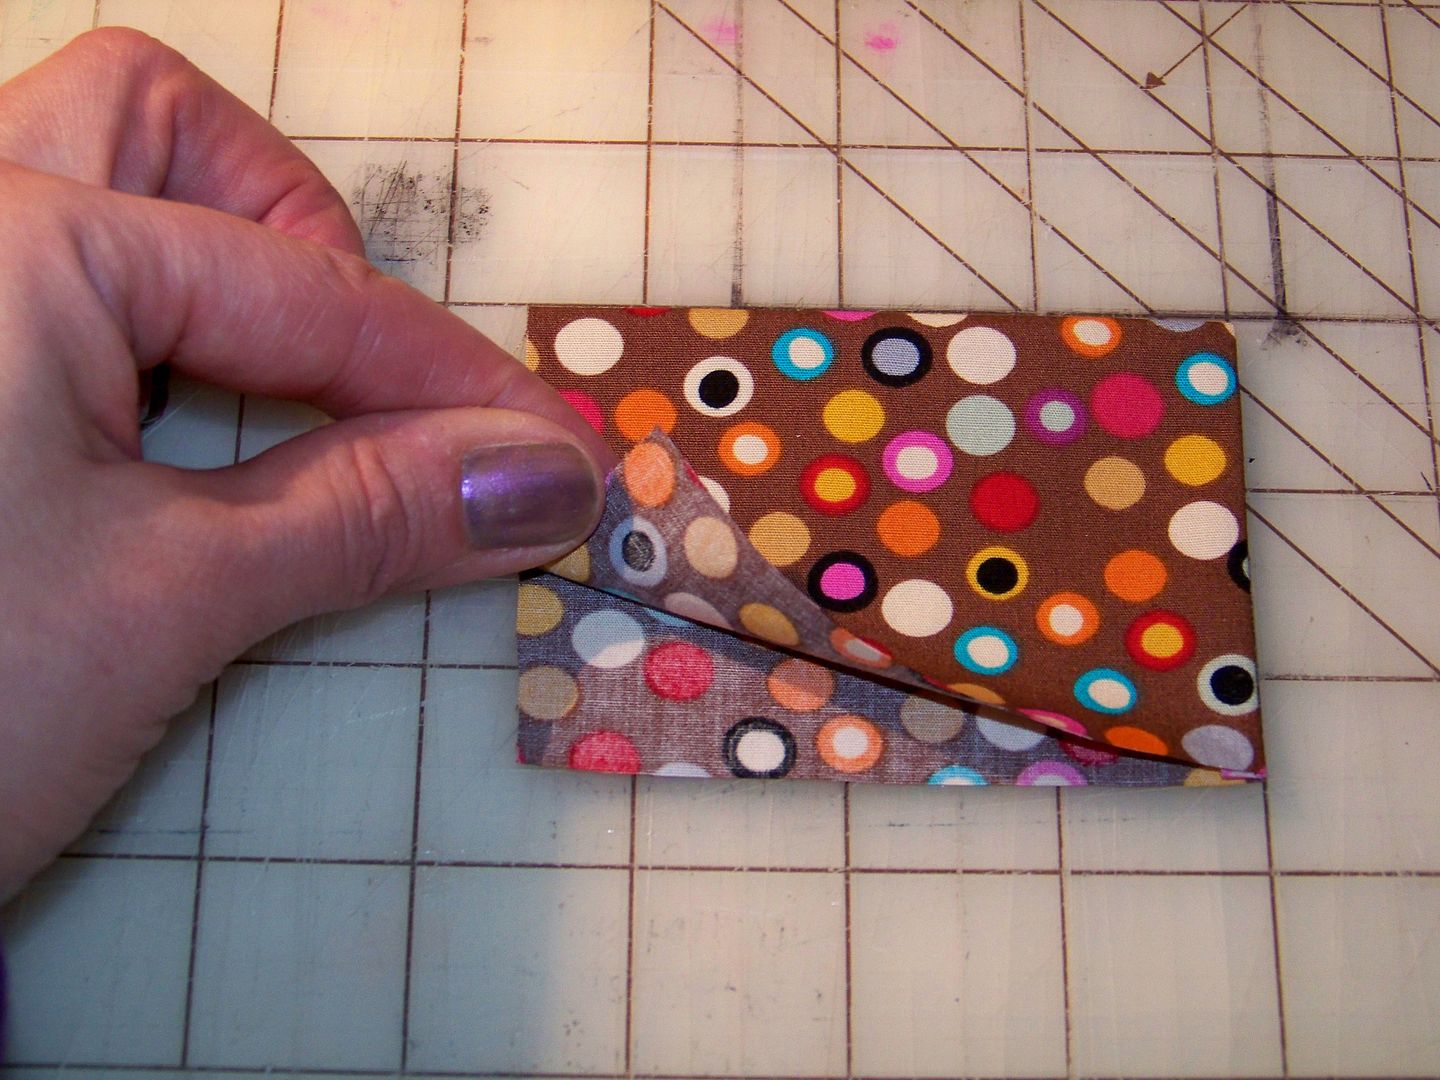
- Place pocket pieces with right sides togeher (will be abbreviated as RST for remainder of this post). Sew the upper edge of the pocket with 1/4" seam. Open and fold the newly-sewn pieces with wrong sides together (WST) and press flat.
- Layer the pieces (as you want them to finish with right sides out) in this way from the bottom: base, boot pellon, base, pocket (contrast on top!) Baste in place 1/4" from edge.
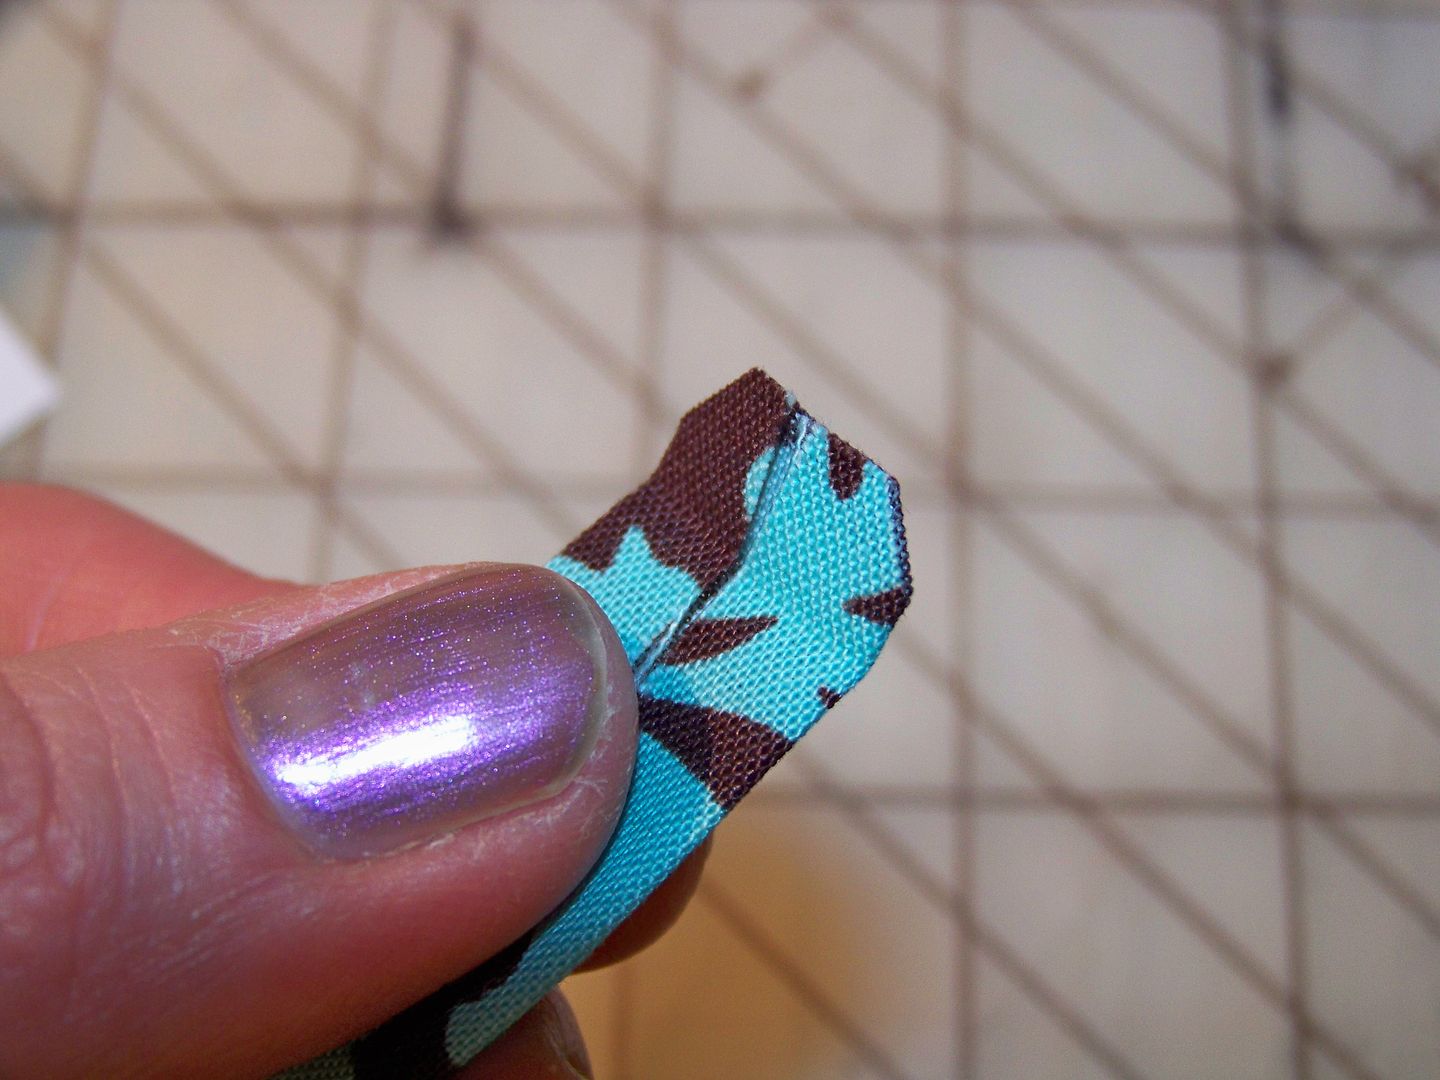
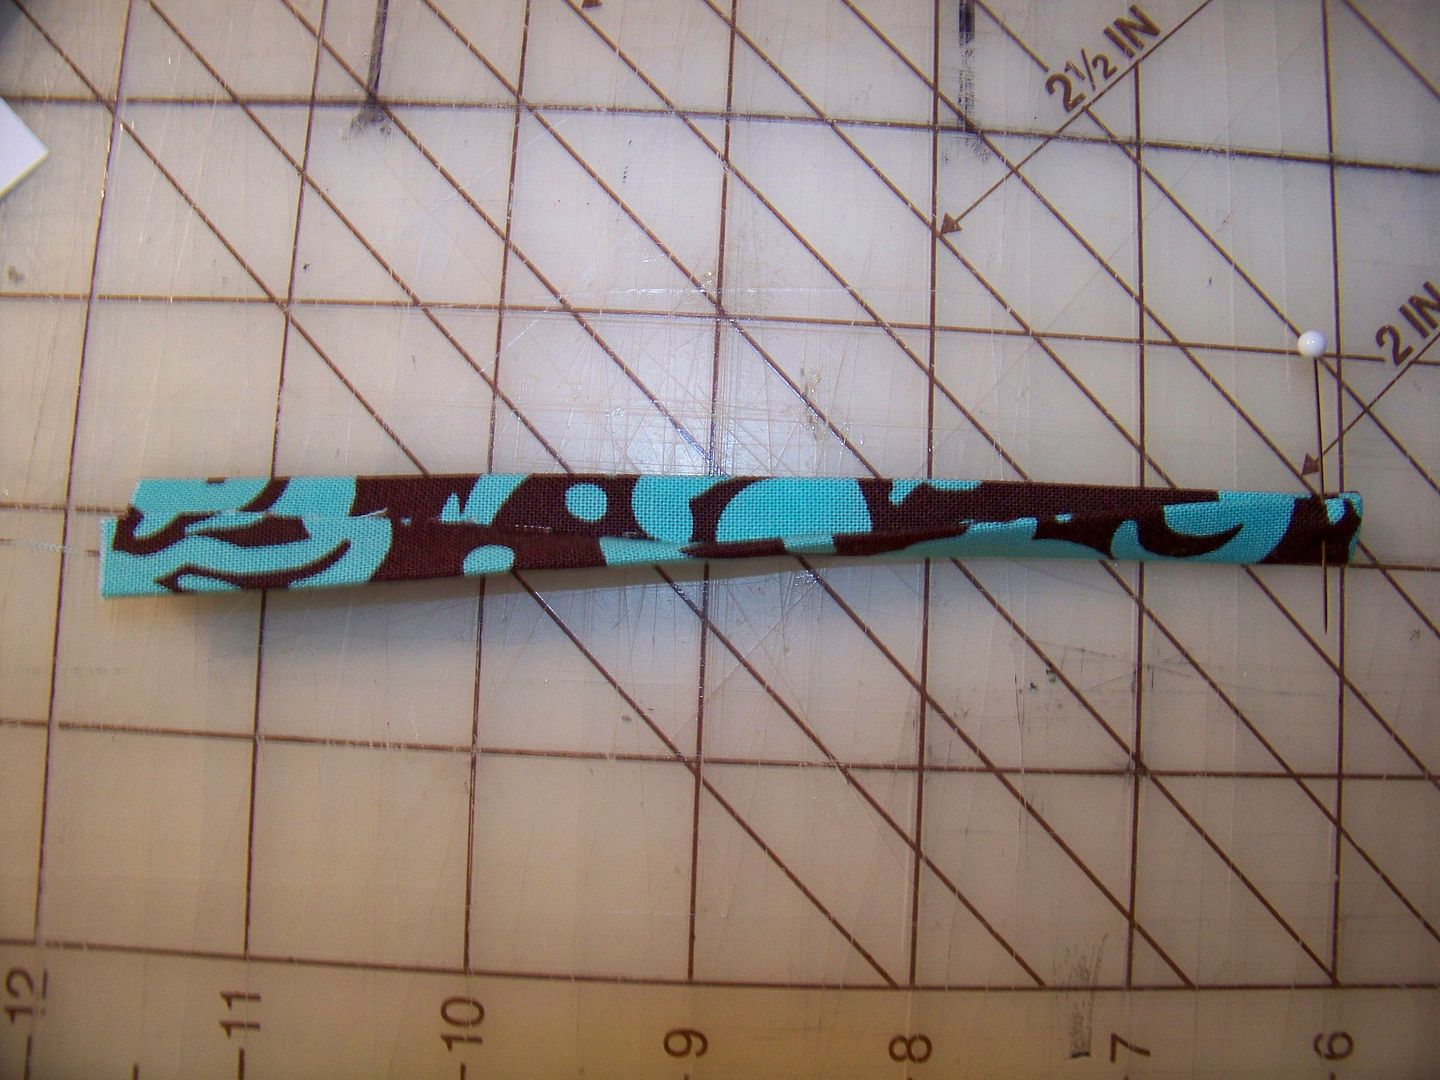
- For the tie: fold in 1/4" on each long side of tie and fold in half. Press. On one end of tie, unfold, snip corners. Tuck under 1/4" and re-fold. Stitch near edge.
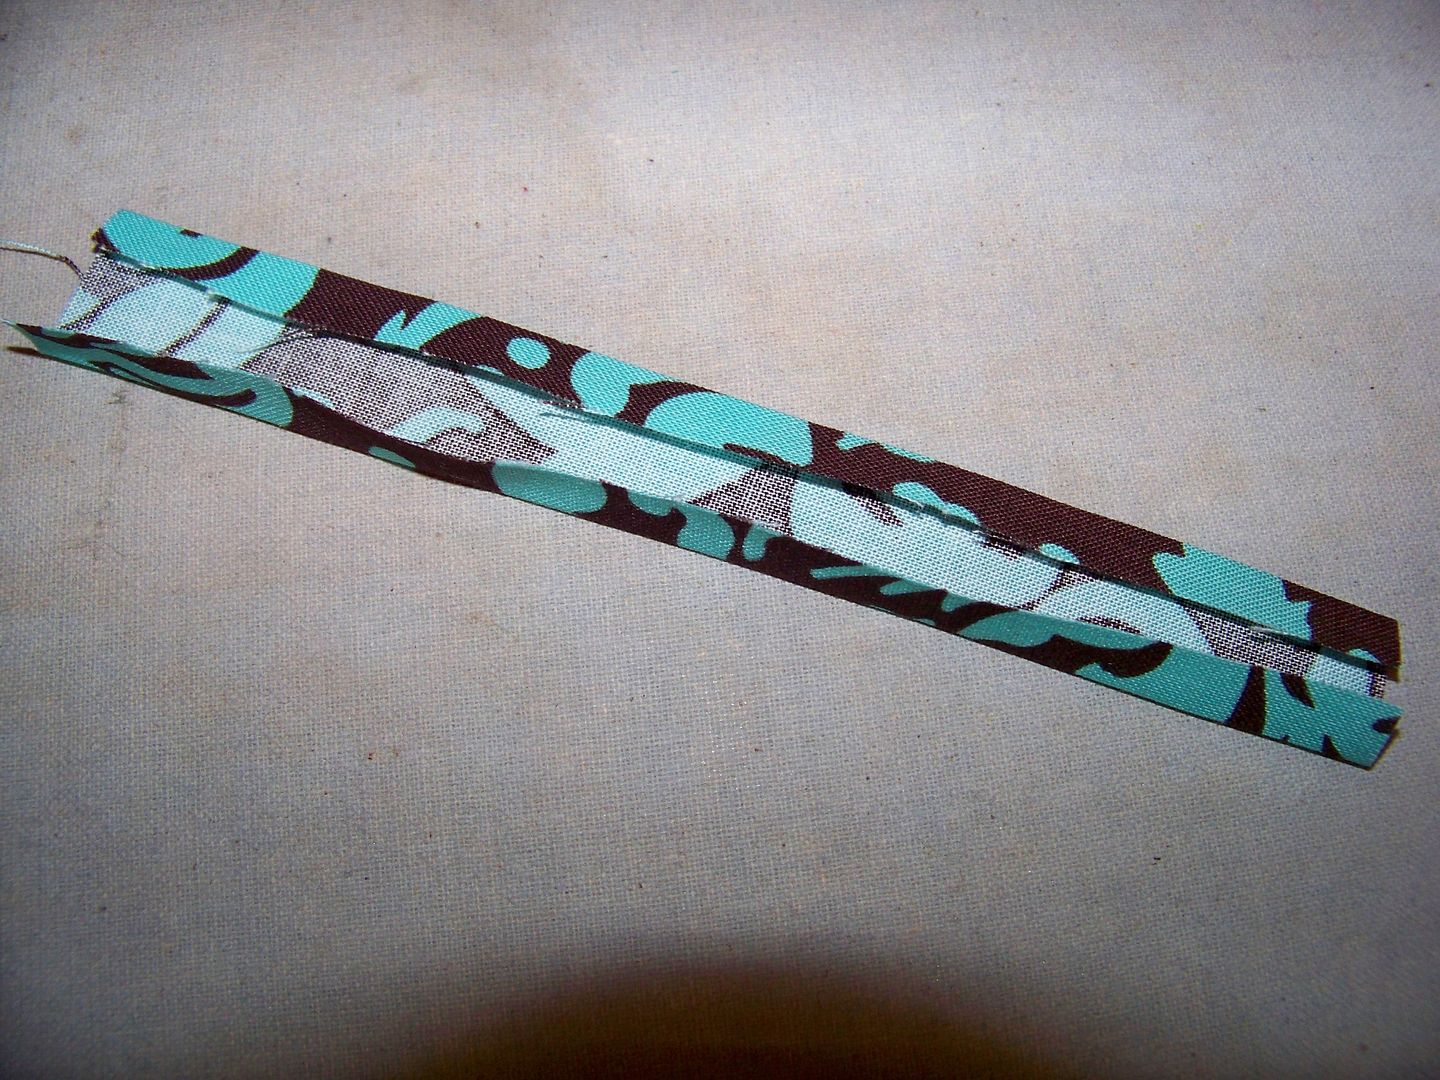 |
| This is actually longer than the piece you will have. I started here and cut it down. The pattern piece on the PDF is the right size. |

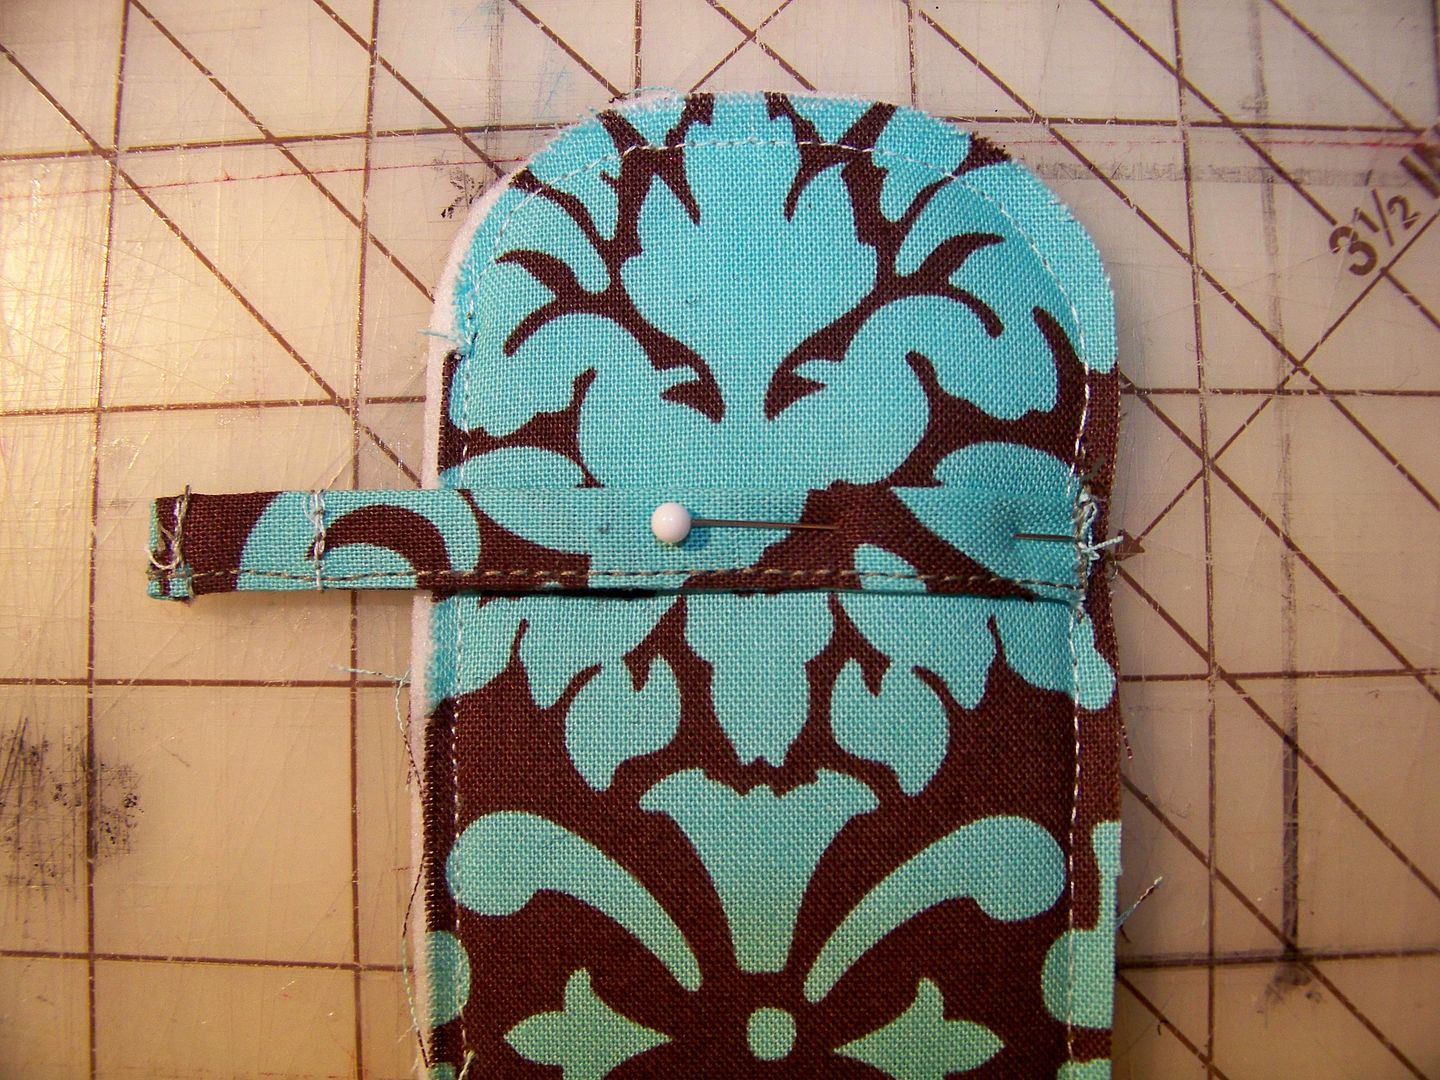
- Stitch hook side of velcro to one side of finished end of tie. Stitch loop side of velcro to the holder, clearing the stitching line.

- Place the tie on the back of the holder, allowing the velcro NOT to hook, but rather to extend past. Sew in place.
- Trim and finish edges with double fold bias tape. Stitch bias tape so that the basting stitches are covered!
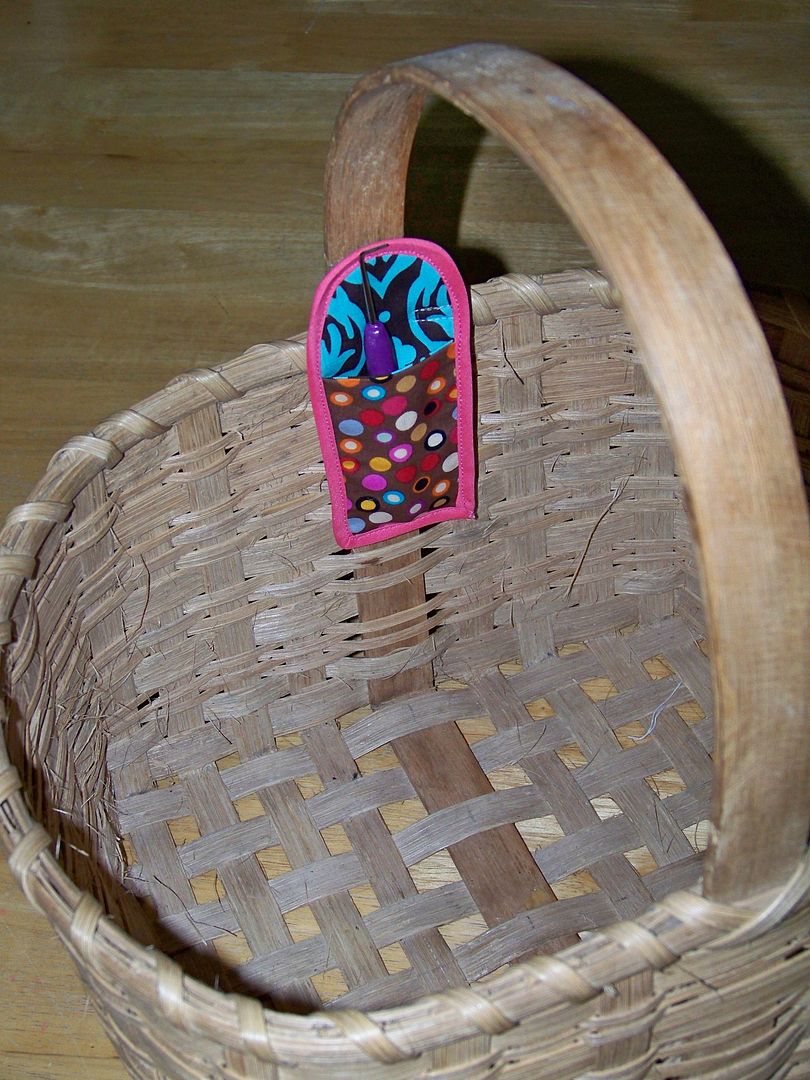
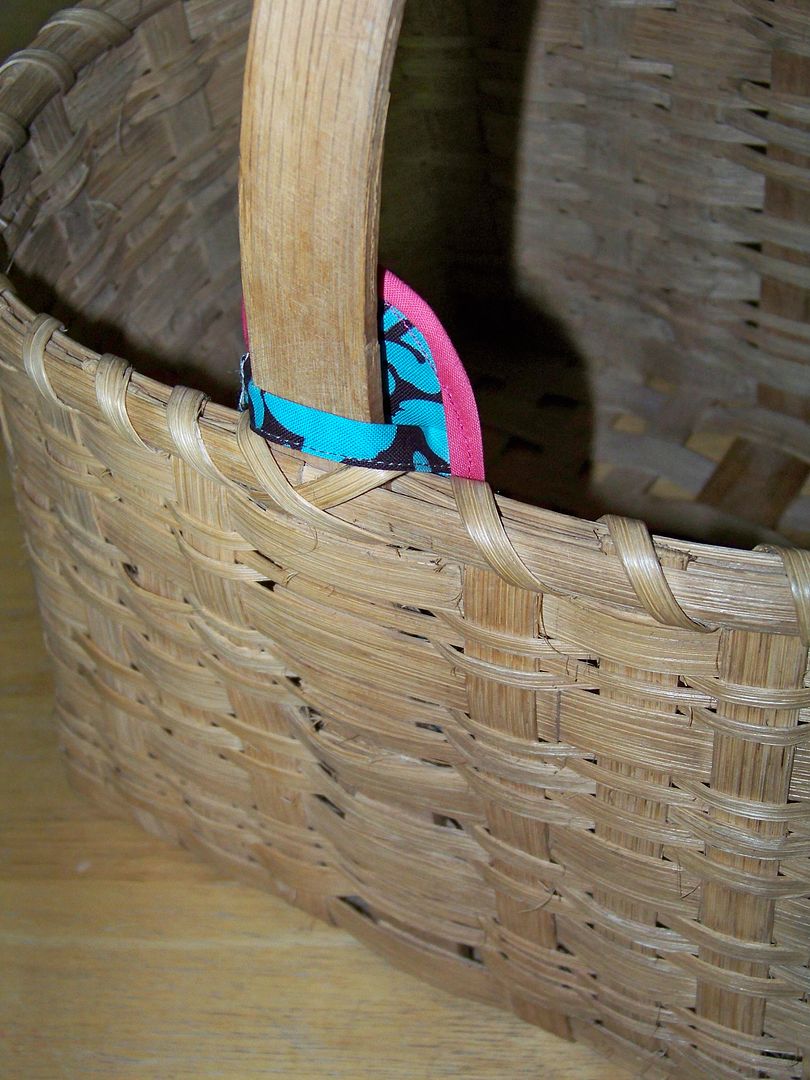
Your pouch is finished! You can place it on your basket, pressing the velcro together after looping the tie around the handle.
Tool Portfolio

- Cut pattern pieces (no download for this since they are all rectangles):
Cut one 23"x11" piece of boot pellon.
Cut two 16"x6" pieces for the pocket and pocket lining (lining will not show).
Cut one 3-3/4"x5" piece for the needle pocket (I used a contrast).
- Put pocket pieces RST. Stitch upper edge with a 1/4" seam. Turn WST and press flat. I sewed a piece of double fold bias tape to the top edge for color, but you can omit that or even sew on a decorative trim!

- Layer cover front and back WST. Place boot pellon in the middle. Baste 1/4" from the edge or less to hold it all in place.
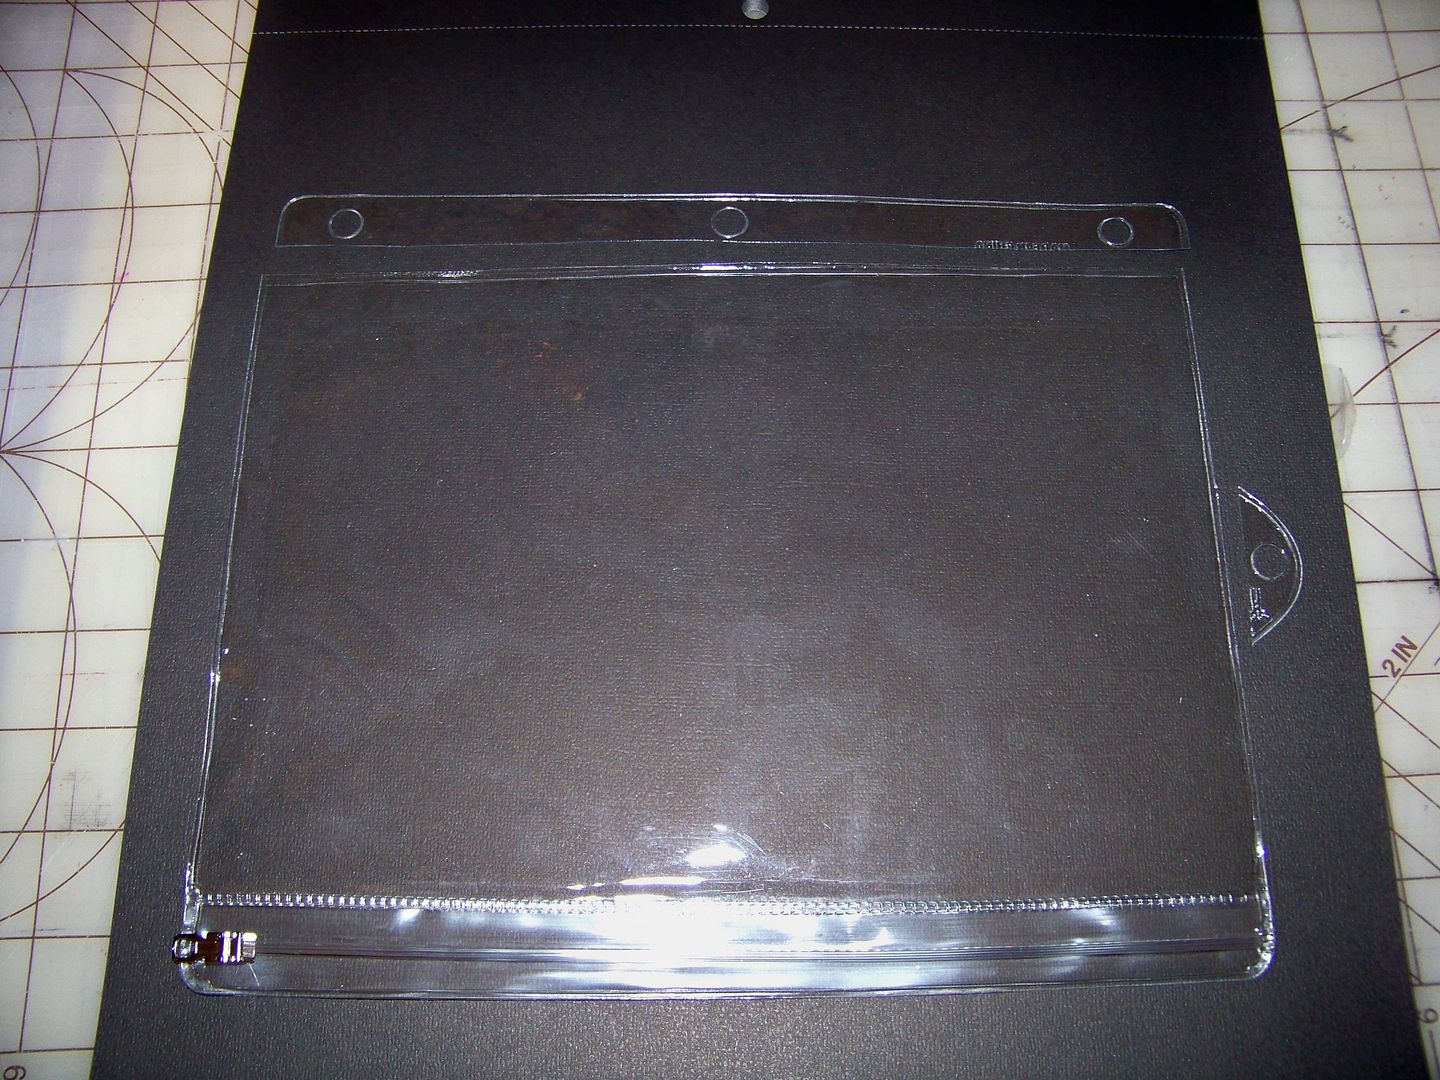
- For the inside pouch, I found a great (which means cheap) pencil pouch at Meijer for under a dollar. Trim holes and extra plastic so that you are left with just the pouch and nothing to accommodate a binder. Set aside.

- Fold needle pocket piece in half RST so that it measures 2-1/2"x3-3/4". With fold on the top, sew only one side. Turn WST and press flat.
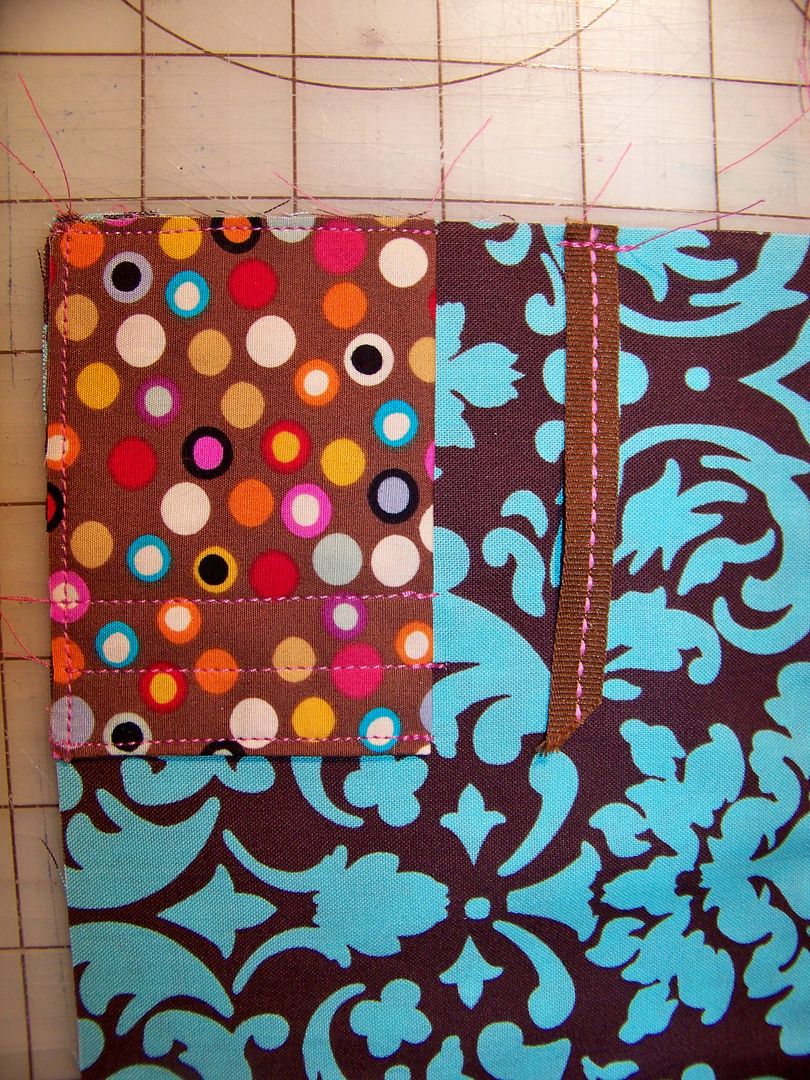
- Align needle pocket to big pocket on lower left edge, matching up raw edges on the left side and bottom of needle pocket to raw edges on the big pocket. Baste raw edges 1/4" from edge or less. Sew lines of stitching down to create pockets for the needles. (I sewed them so that there was 1/2" of space between lines of stitching). Sew a 3" piece of ribbon 1" above the needle pocket. Sew snaps or velcro to the ribbon. (This will be used on your finished portfolio to hold your scissors in place. It is optional.)
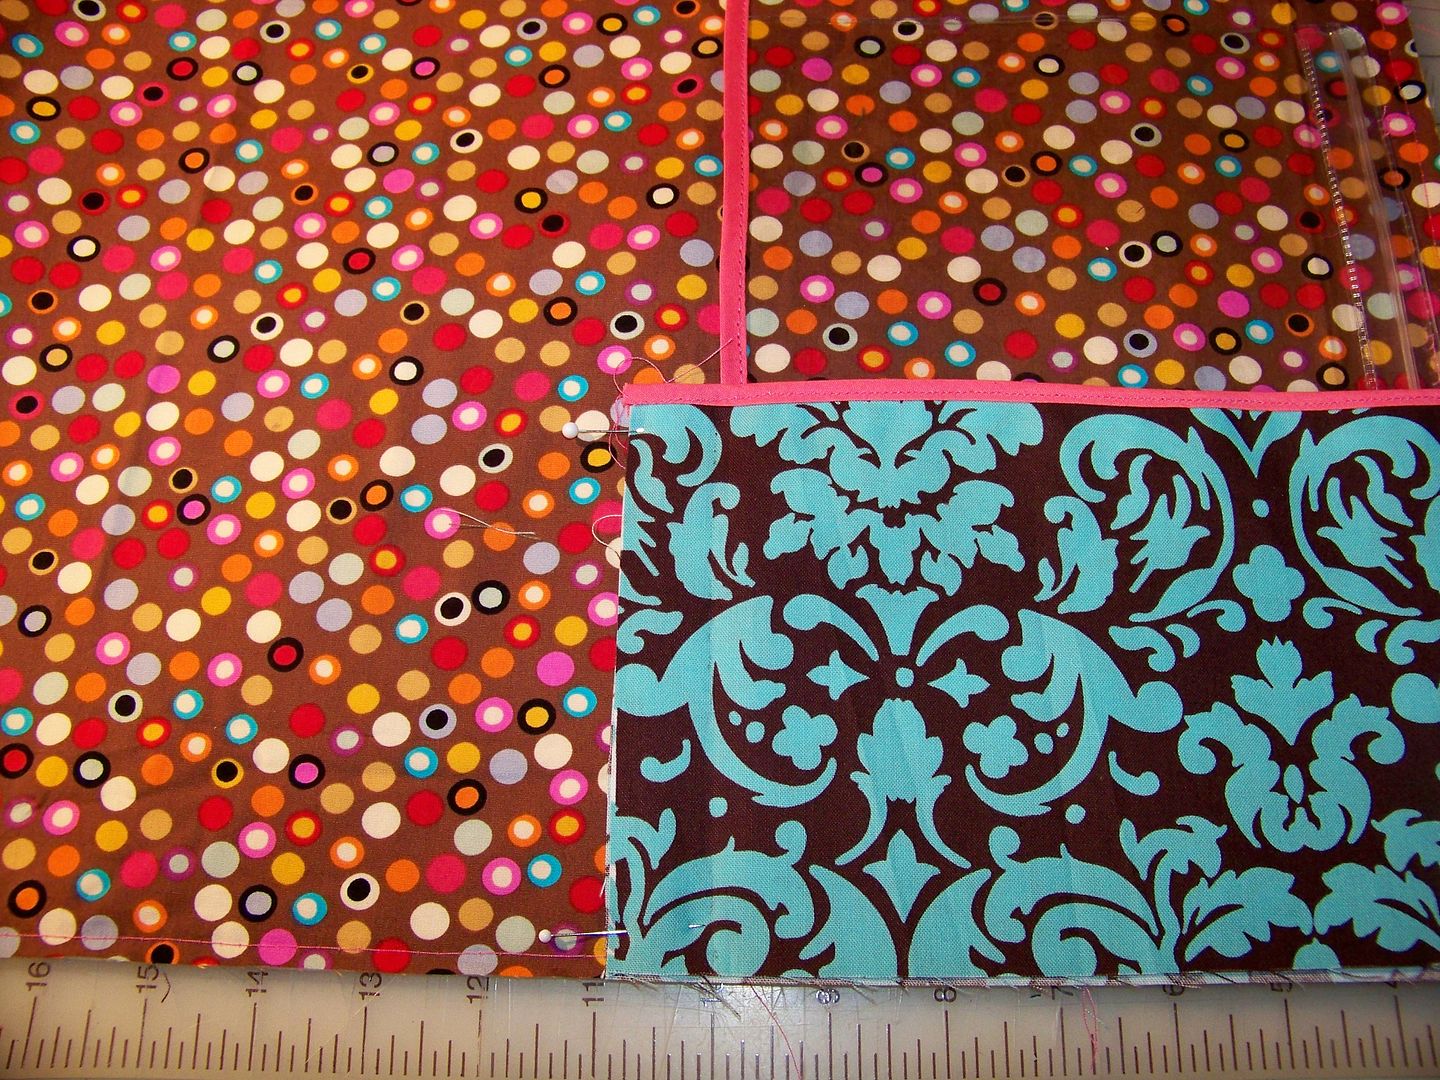
- Place plastic pencil pouch on right side of project. Cover left edge with doublefold bias tape and stitch in place, using long stitches so you won't perforate the plastic causing it to rip.

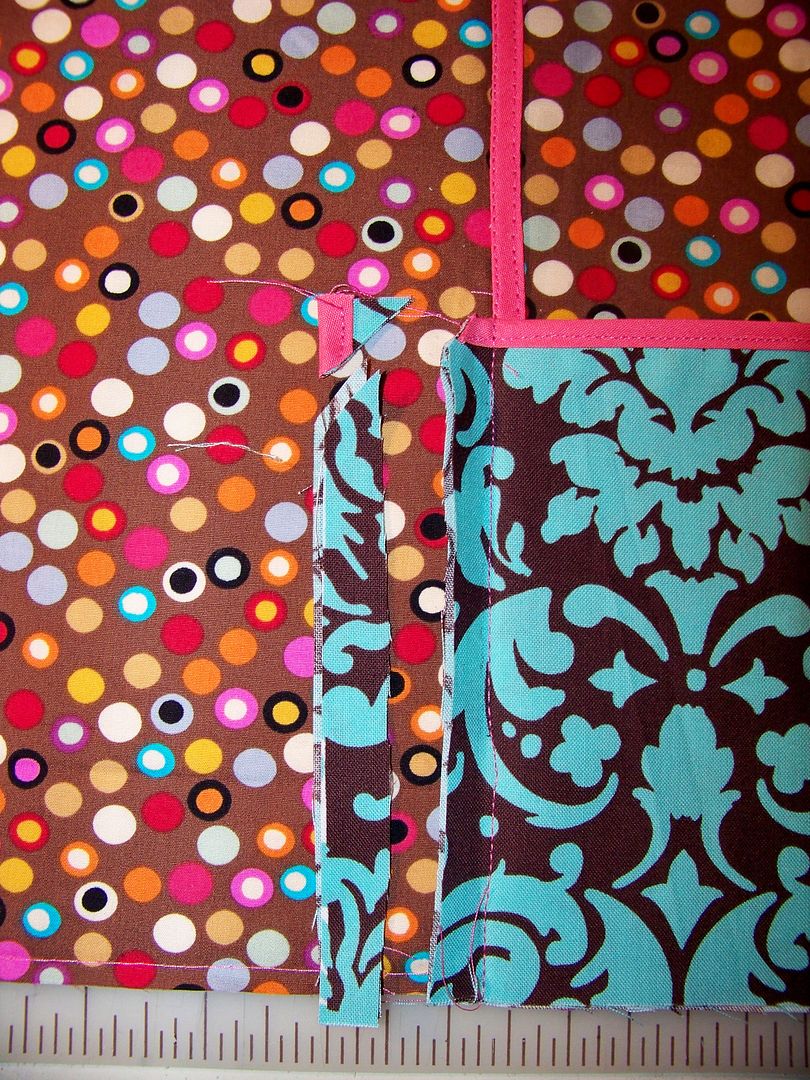
- Place pocket, folding right edge (next to pencil pouch) under to fit space. Mark the fold. Flip pocket onto pencil pouch and stitch along fold line to attach the pocket to the cover. Trim seam and snip excess fabric at the corner and fold pocket back over into place. Baste all around the cover to hold the pocket in place 1/4" from the edge or less.

- Add 16-1/2" piece of ribbon at the top edge aligned with needle pocket. You will be able to tie this (or snap/velcro if preferred) to your scissors to keep them from walking away. Baste in place.
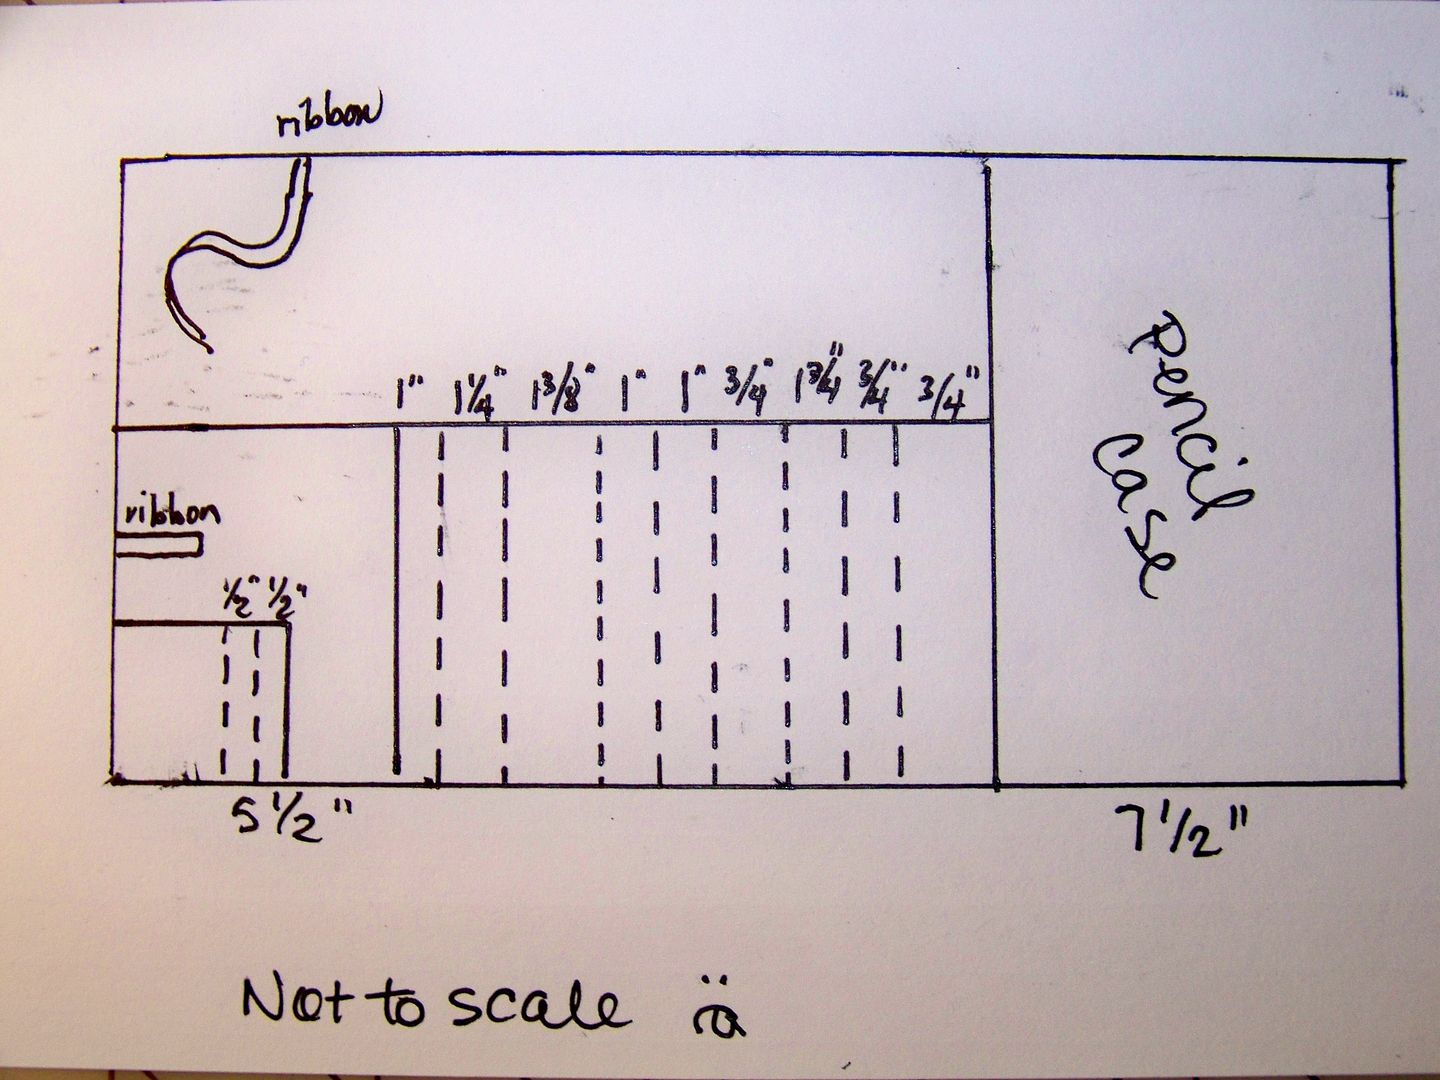
- Stitch down through all layers to create pockets for crochet needles, extra knitting tools, pens, stylus casings, and pipe cleaner (threader for stylus) using the diagram below.

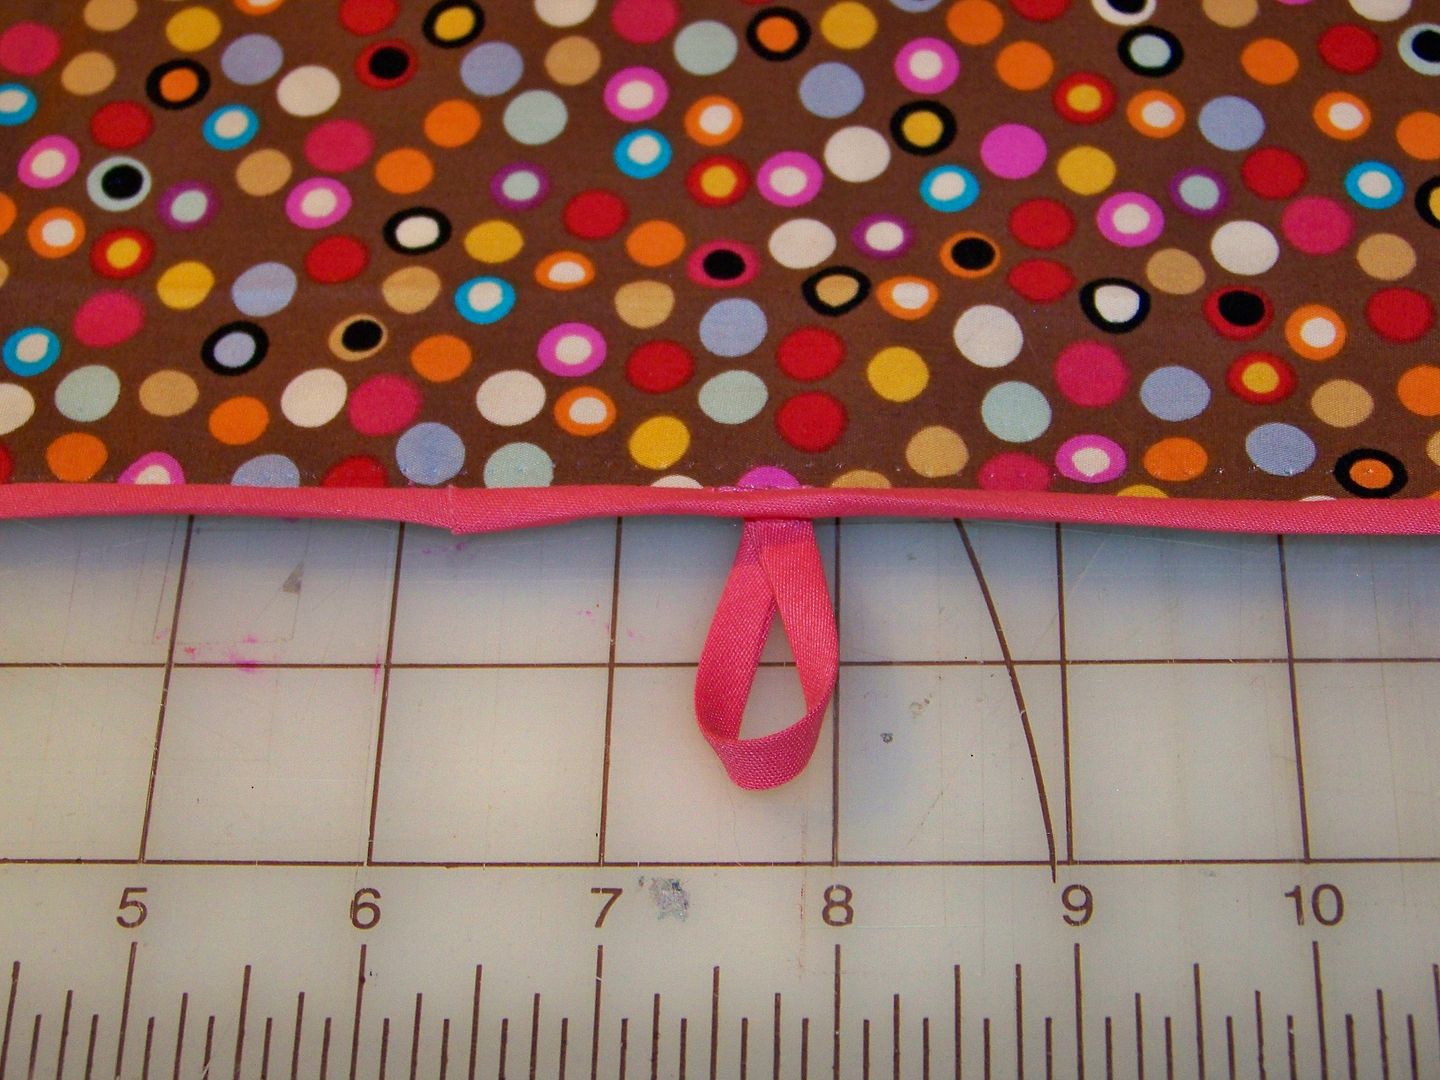
- Trim edges all around the cover. Make a loop for a button closure on one side. Finish edges with doublefold bias tape. Fold portfolio into thirds. Hand-sew decorative button in place.
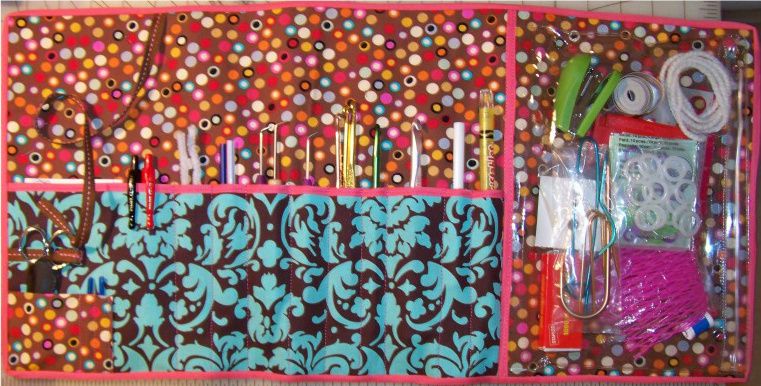
- After placing all your tools in the portfolio, fold the portfolio in thirds and slip the loop over the button to close! (The pencil case is loose on all sides except the left so that a composition-size notebook will fit under it, but I have since found that I like mine kept separate so that I can make notes without having to get everthing out).
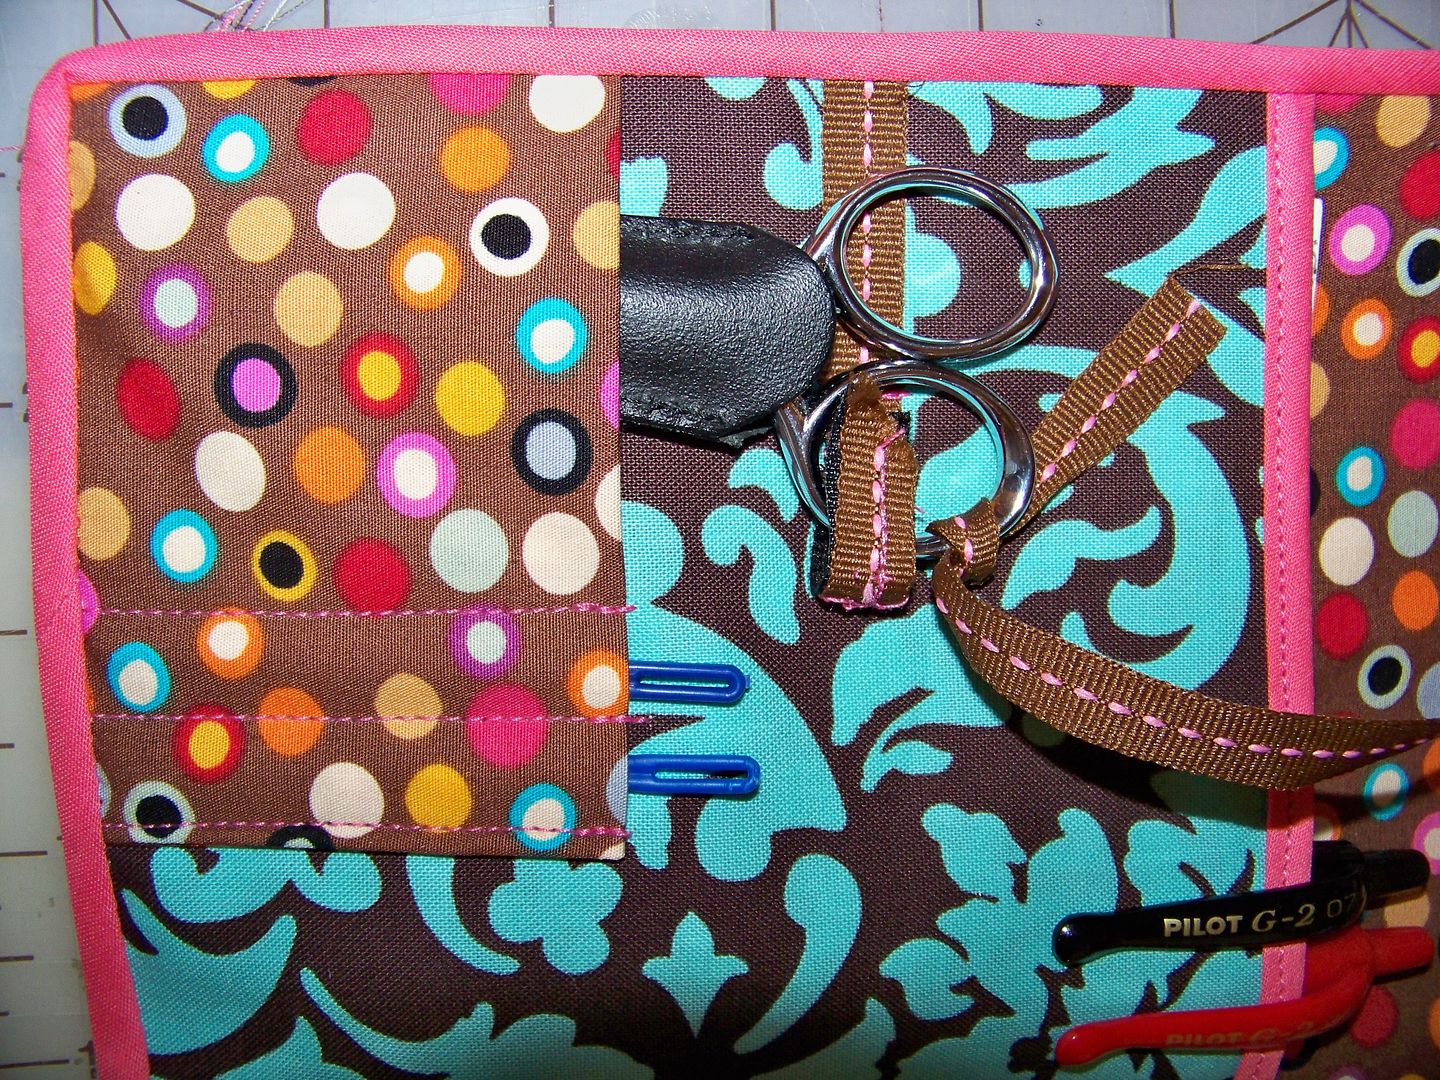 |
| In the big pocket on the left side, there is enough room for index cards. I keep knitting stitch diagrams in there for doubleknitting designs. The scissors are attached in two ways, but I now mostly only use the long ribbon so that they can hang outside of the portfolio but are safely attached. |
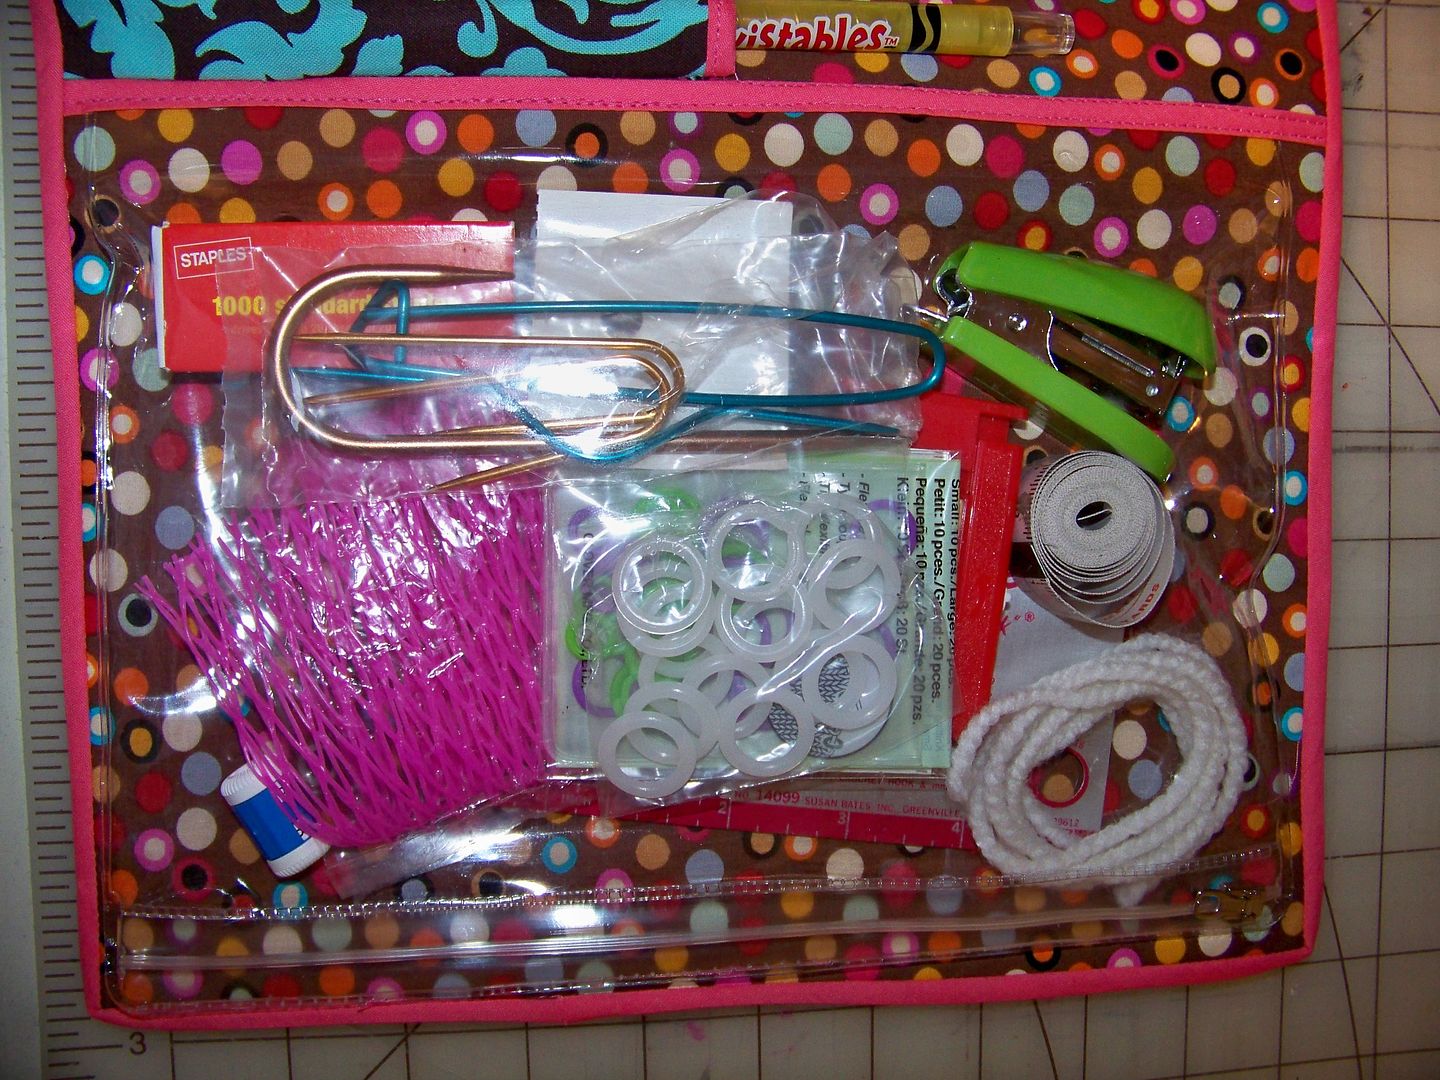 |
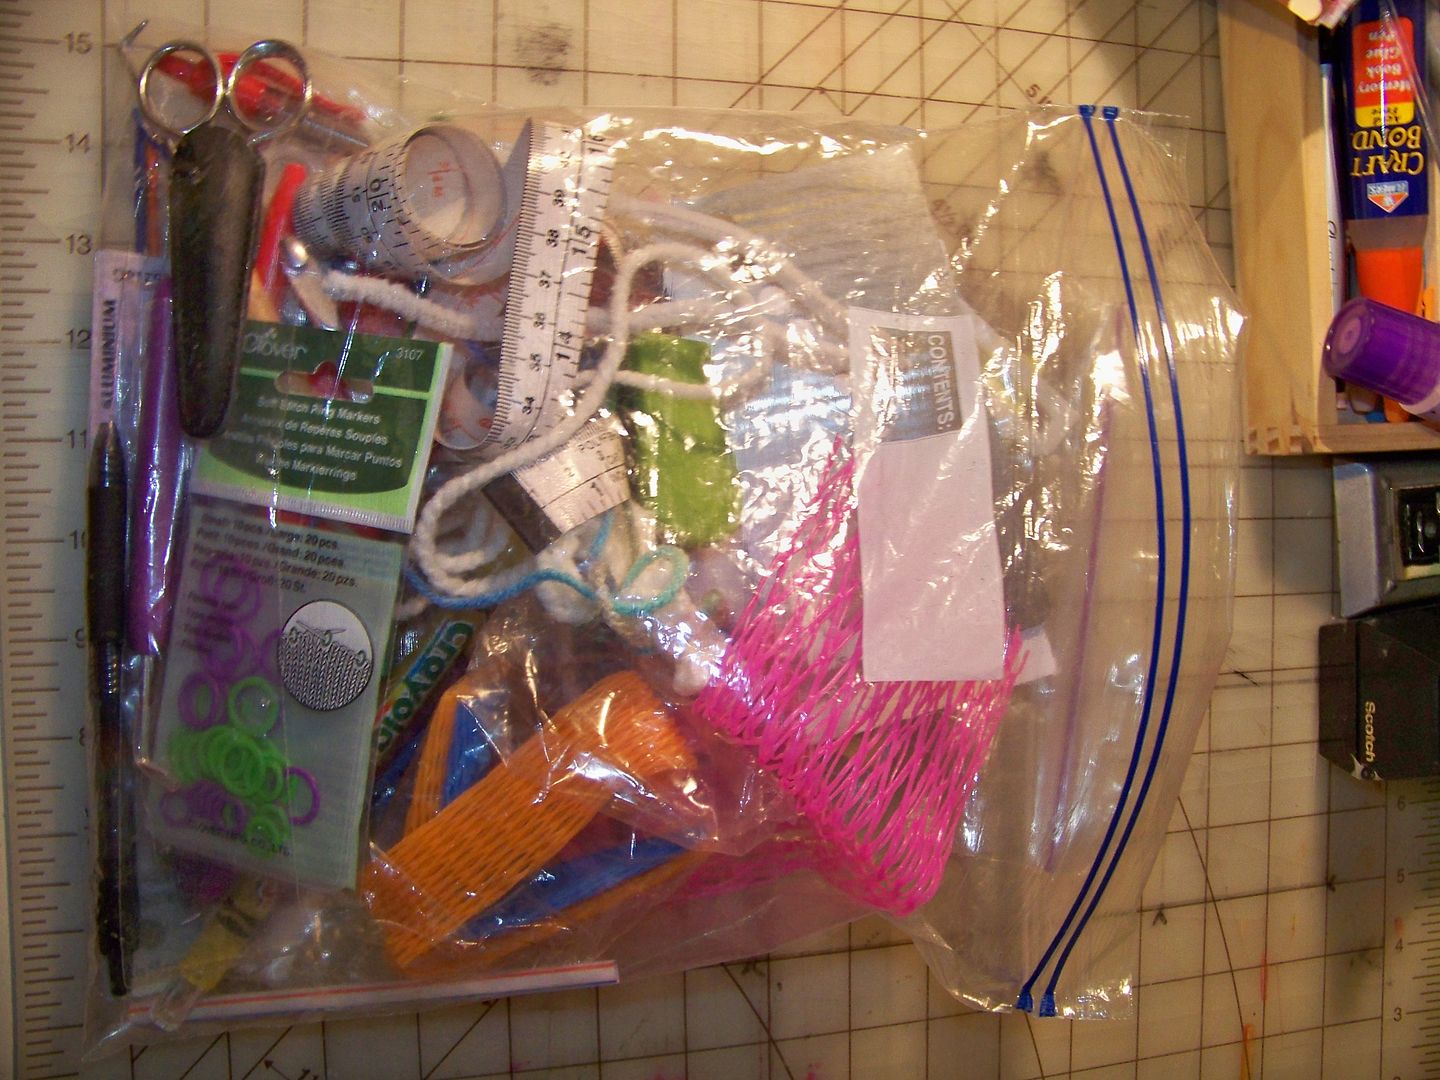
| I keep everything else in the pencil pouch: yarn nets, spacer rings, cable hooks (learning cables is a loom knitting goal of mine!), counters, waste yarn, measuring tape, stapler/staples for my notebook (I like to staple on a sample of yarn with each project's notes), and knitting gauge. |
My knitting basket looks so much craftier and fun with my new accessories!
You can see all of my knitting projects on my loom knitting page (click here).
You can see all of my paper projects in My Project Gallery (click here).
Thank you for viewing my post today! I will be showcasing more gifts from me to me in the next couple of posts! Thank you for letting me indulge!
Pin It
5 comments:
Thank you for indulging us with all of the great tips and patterns!
I still haven't bought a knitting loom - but it is seriously on the list and I know just where to go for expert advice and inspiration (i.e. withglitteringeyes.blogspot.com)!
I love the history of your basket as well - and hope you are having a remarkable and enjoyable birthday celebration.
Can I tell you that I completely admire your craftiness! I am in total all of all that you can do.
Thank you for always sharing and inspiring me (and SO many others!!)
you are such a delight.. and i always love to stop by and see what you are up to... Great directions.
Love this!!! Great instructions; I think I'll have to do this project -- love it and it looks like something I can handle...lol! Thanks for sharing, my friend!
Wow! This is amazing and the best part is that anyone can use this for any "accessory"-type bag. Thank you for this!
Post a Comment