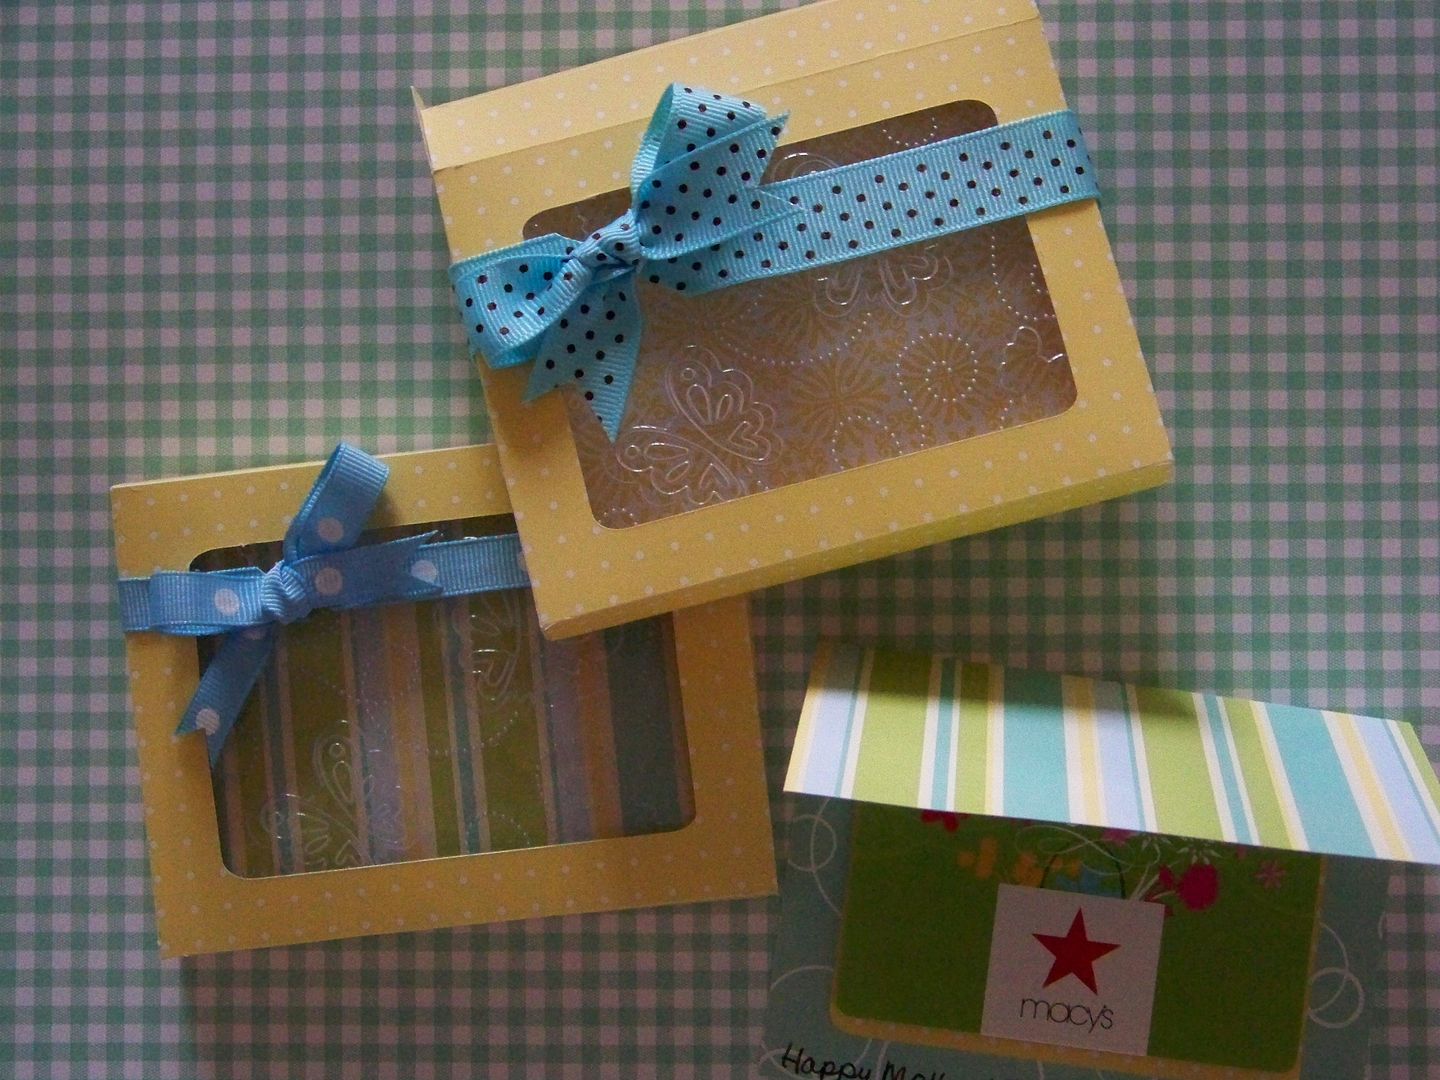

I have been creating and picking up little Mother's Day gifts for the moms in my life, including making a pyramid box filled with bath products from Lush (click here to see my post featuring that project), but my mom and my mother-in-law love to shop, so I always include gift cards with the gifts my husband and I give them on Mother's Day.
These are so quick to put together, and to make two, you only need two sheets of 12x12 paper and the discarded clamshell packaging from a Cricut cartridge!
I started by cutting the boxes at 5-1/2" on Wildcard (the old one, not Wildcard 2) from page 80. I cut this on my Expression, and as I have mentioned before, the Expression, Expression2, and Imagine cut at slightly different sizes so please make a mock up if you are using these measurements on a machine other than the Expression!
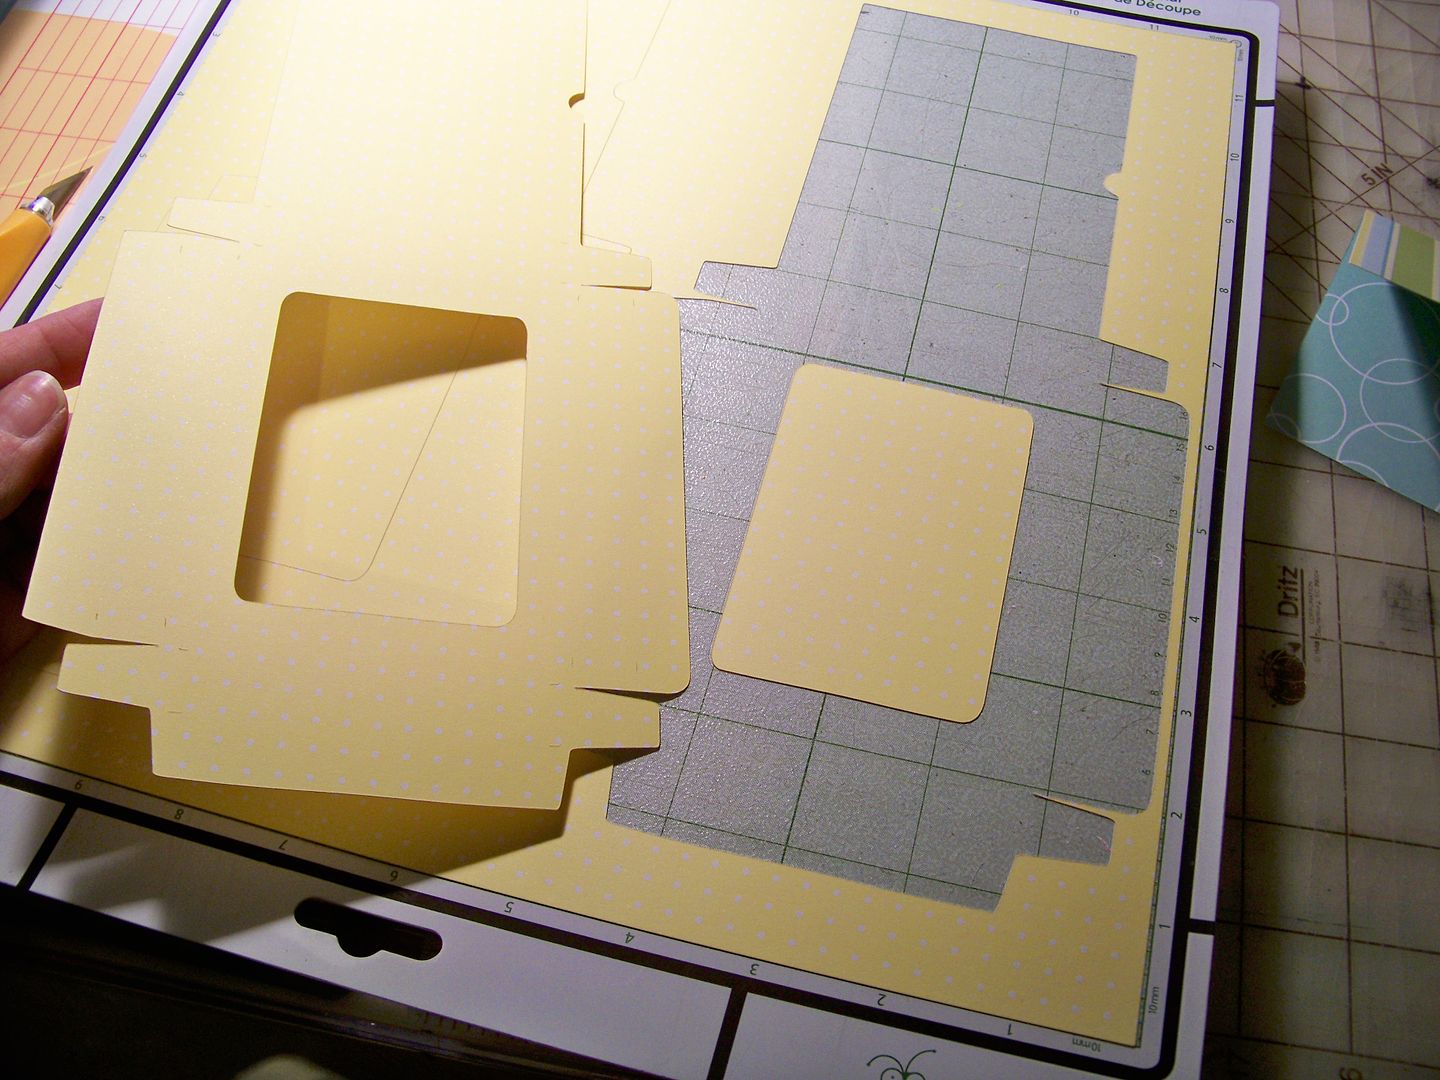
I kept the rectangular-shaped waste (negative space from the cut to use on the card).
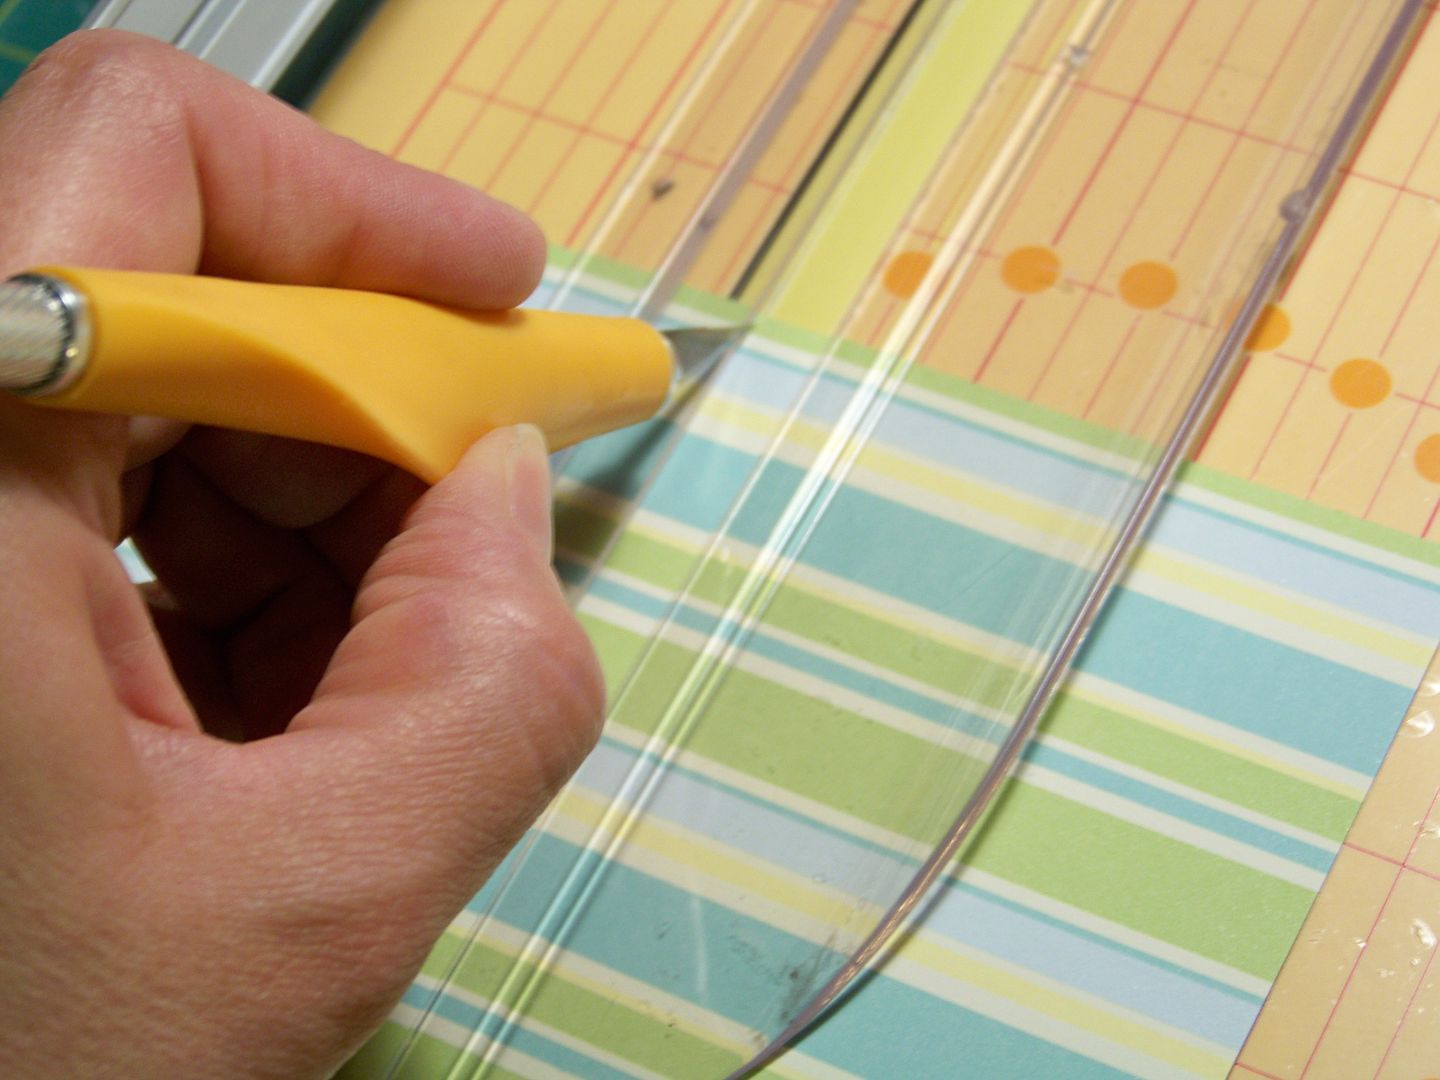
I cut the card that I placed inside the box which holds the gift card by hand at 4-3/8" x 6-1/2". I scored it in half to fold it down to 4-3/8" x 3-1/4". My paper trimmer has a smudge guard that holds paper in place separately from the blade rail. For scoring, I used the smudge guard to hold paper that I lined up. I use an X-acto knife to do the scoring, lightly cutting. I used this same method to score the box lines. Because of the actual cutting, this type of scoring hides the tick marks that will show when using a scoring board and bone folder!
I folded the card along the score line and adhered the rectangular piece reserved earlier from the box cut to make a mat inside the card to create a base for the gift card.
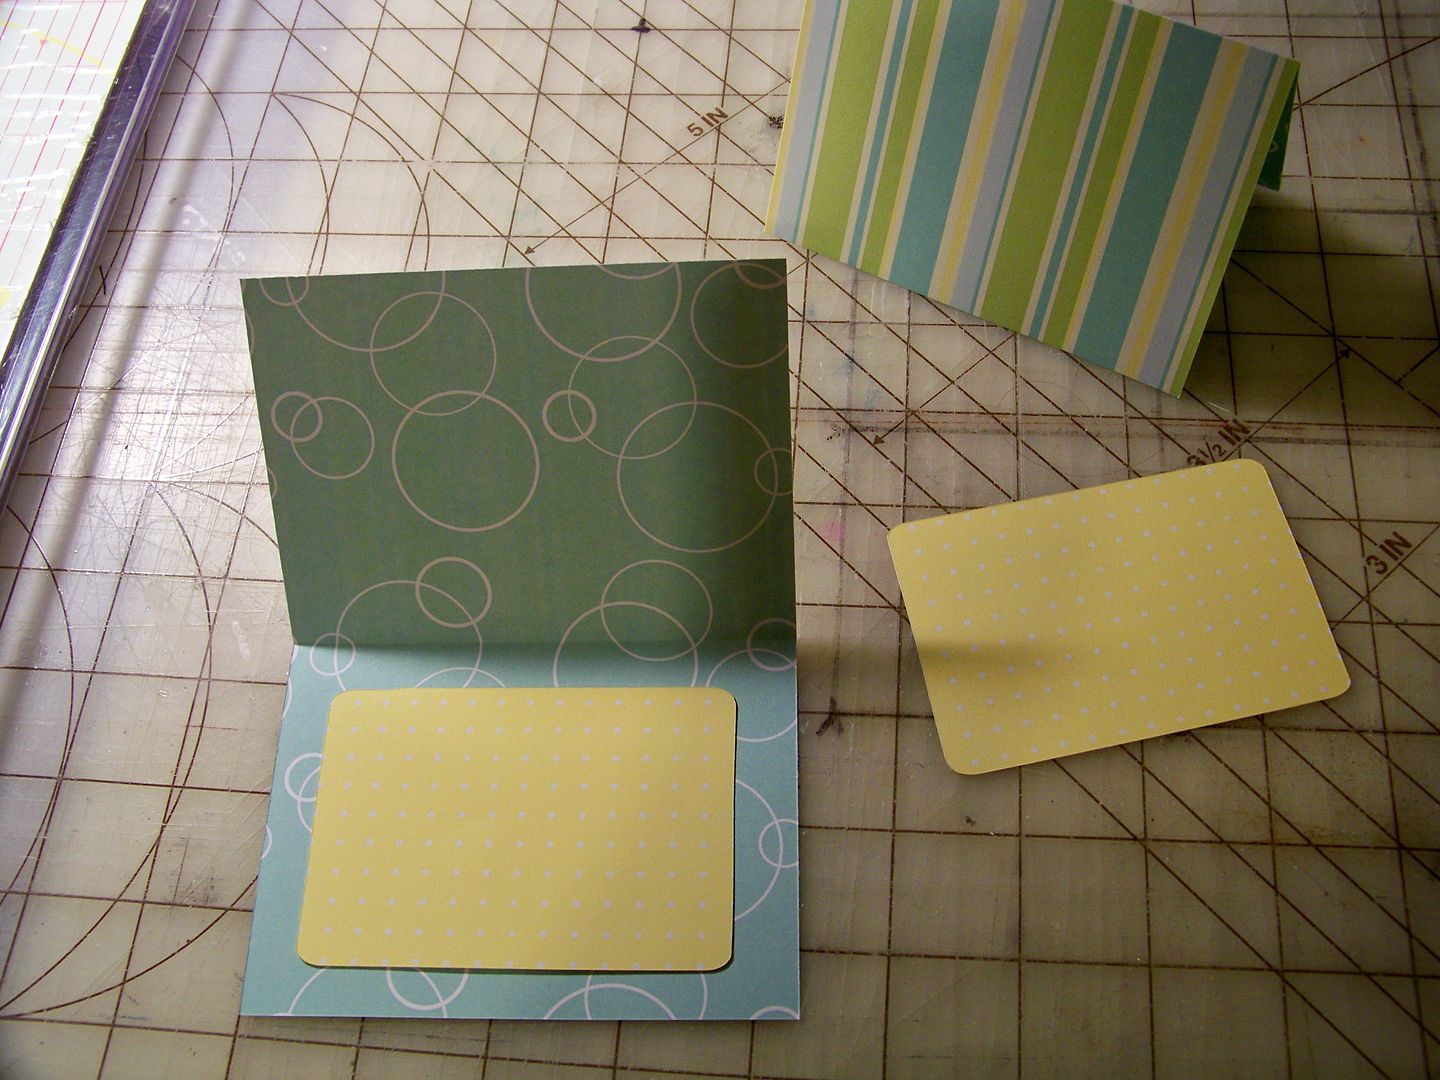
After I taped it in place with an ATG, I realized that I could have formed a little pocket for the validation receipt if I had kept the top open-- definitely doing that next time! (Love my little arrow-- that's just for you, not for mom!) Instead, I folded them and taped to the back of the gift cards. The gift cards were attached to the mats with 1/16" pop dots.
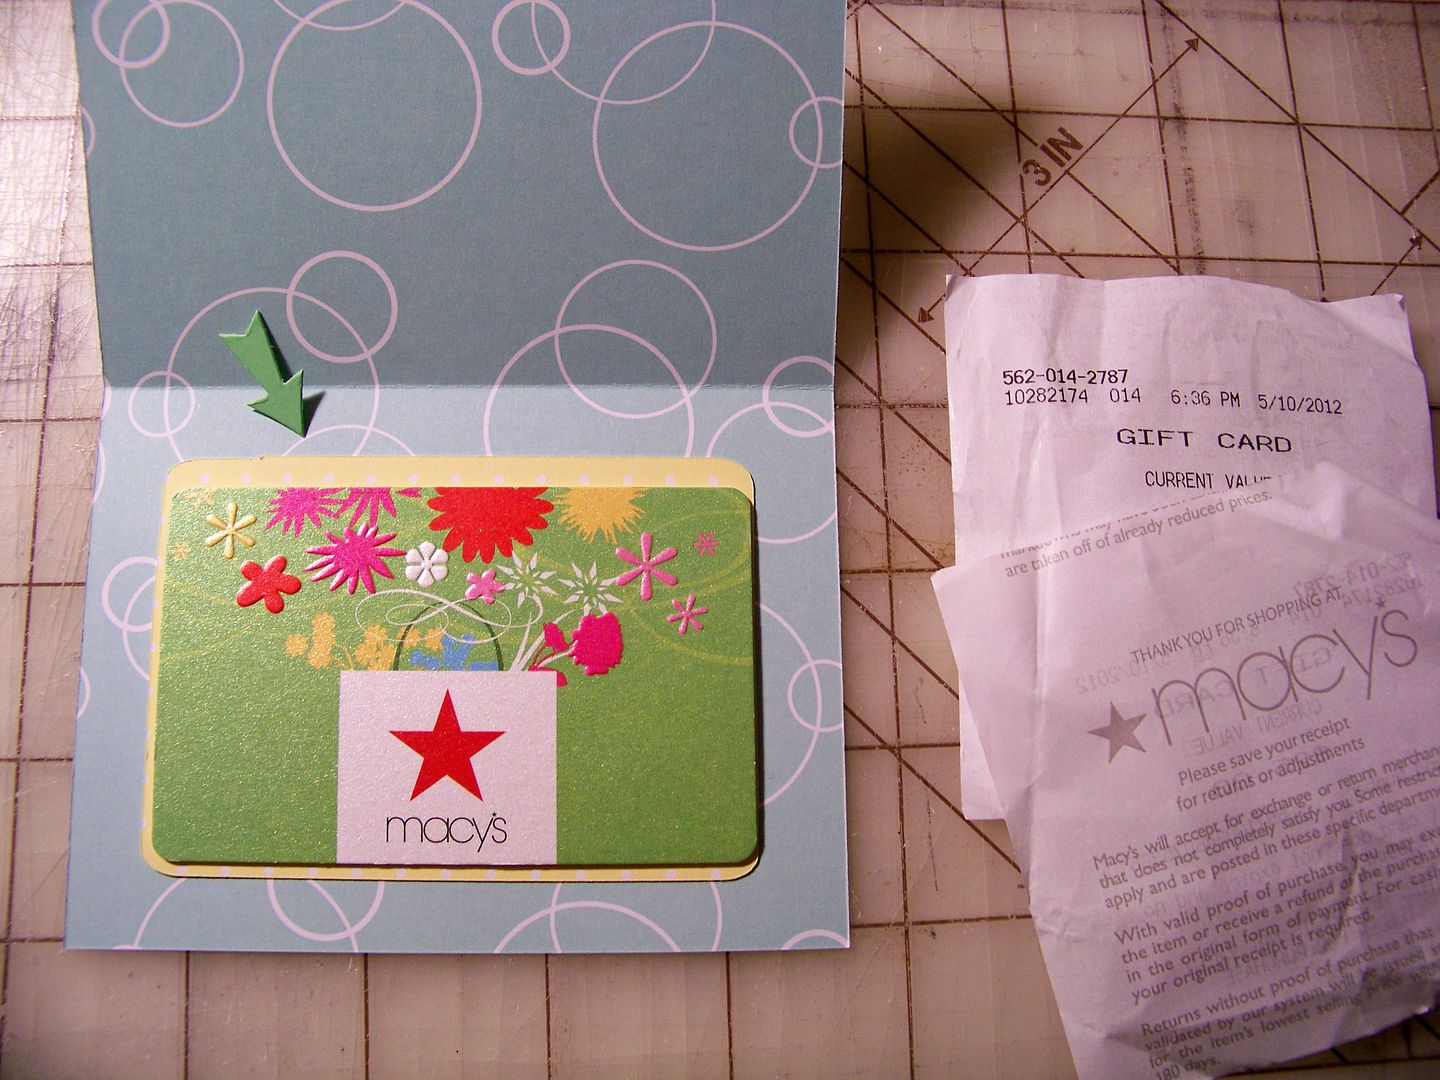
The fun thing about this design is that the gift card could go on top of the card, to show through the window or inside the card, allowing the front of the card to show through the window instead! I decided inside was better this time because I wanted to emboss the packaging that I was using in the box window.
As soon as I get a cartridge, I cut off the sides of the clamshell packages, keeping only the flat tops and bottoms, making them easy to store!

I cut the one of these down to 4-1/8" x 3-1/8". The hardest part was picking an embossing folder!
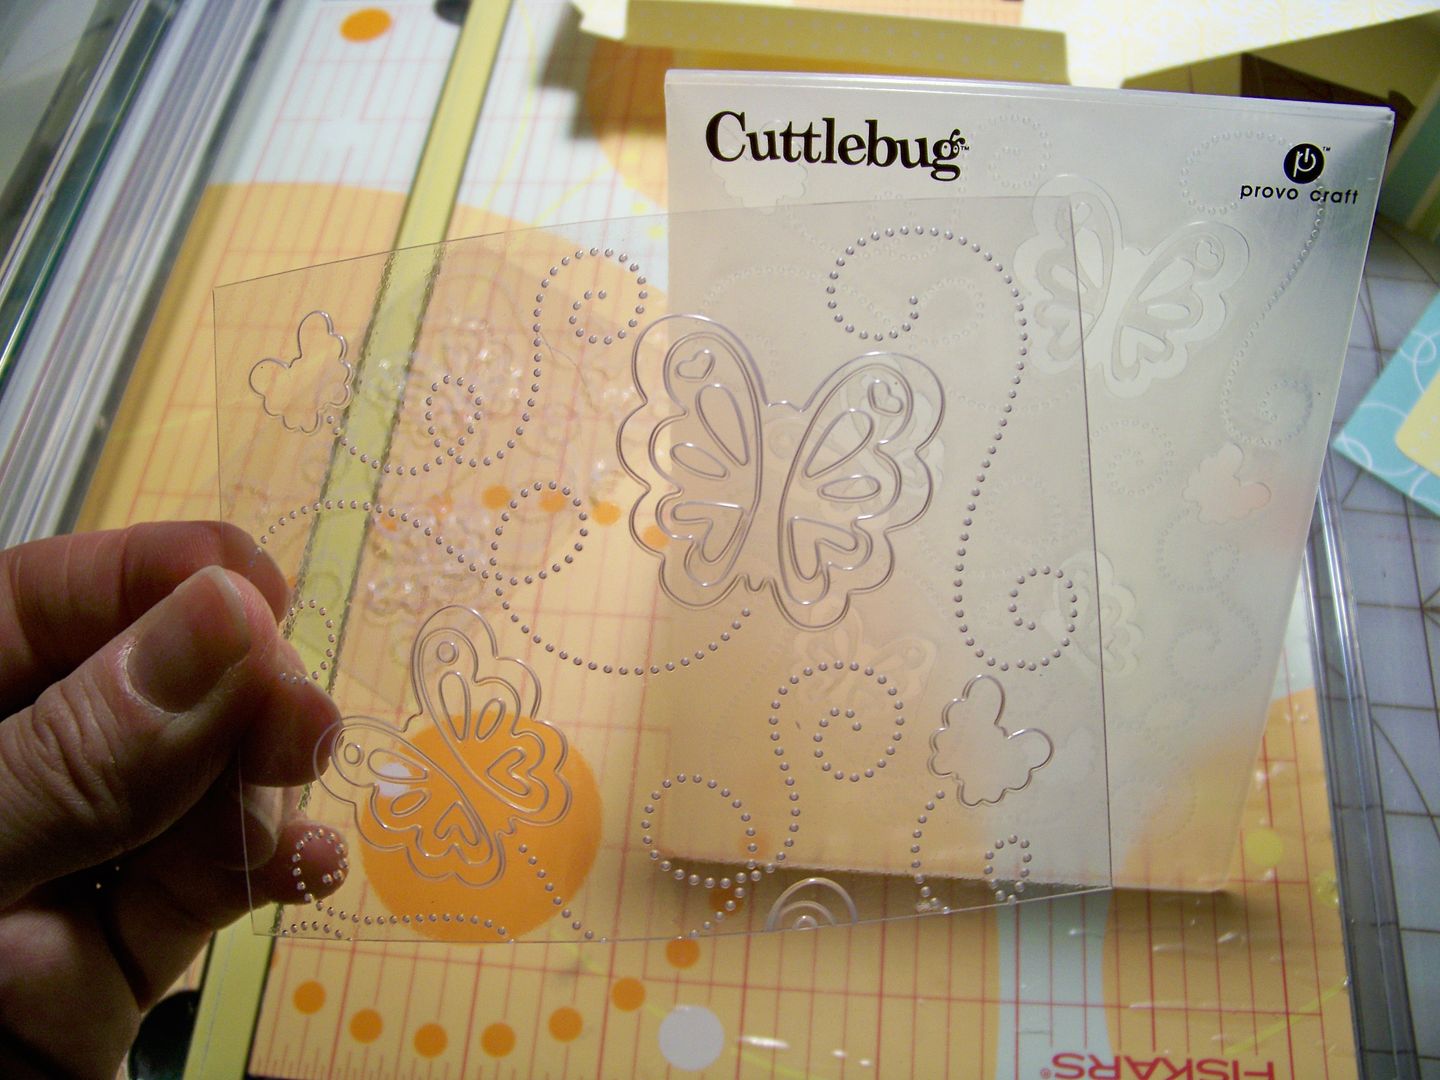
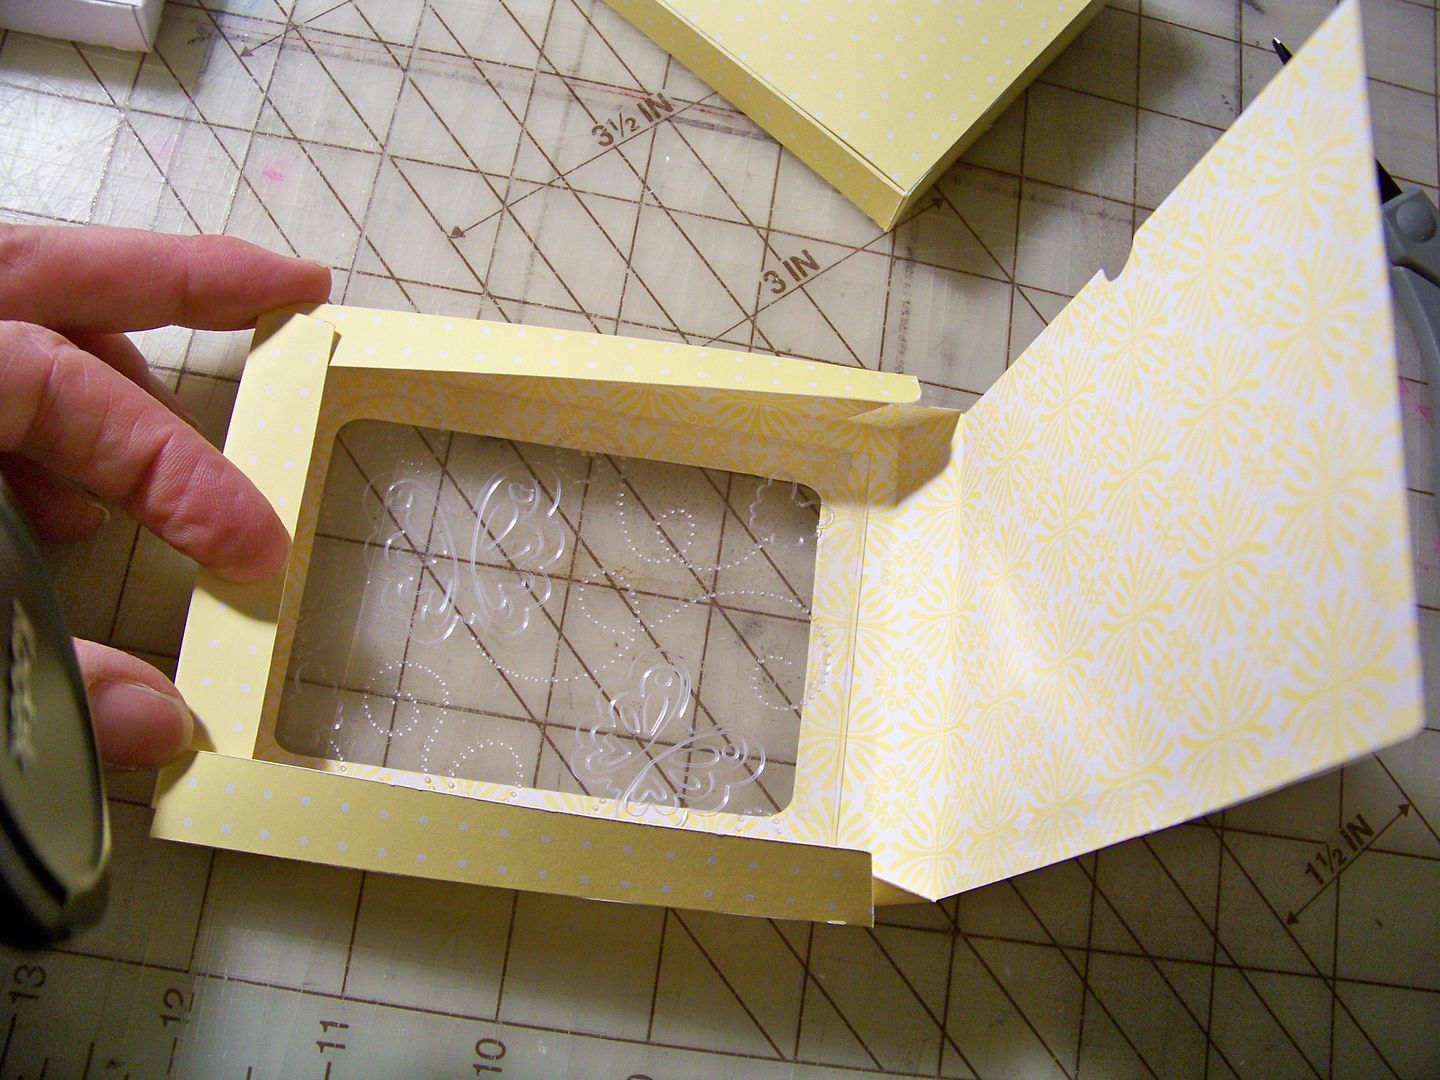
This material embosses perfectly! I used 1/4" Terrifically Tacky Tape to adhere the embossed material to the inside of the box before the box is assembled.
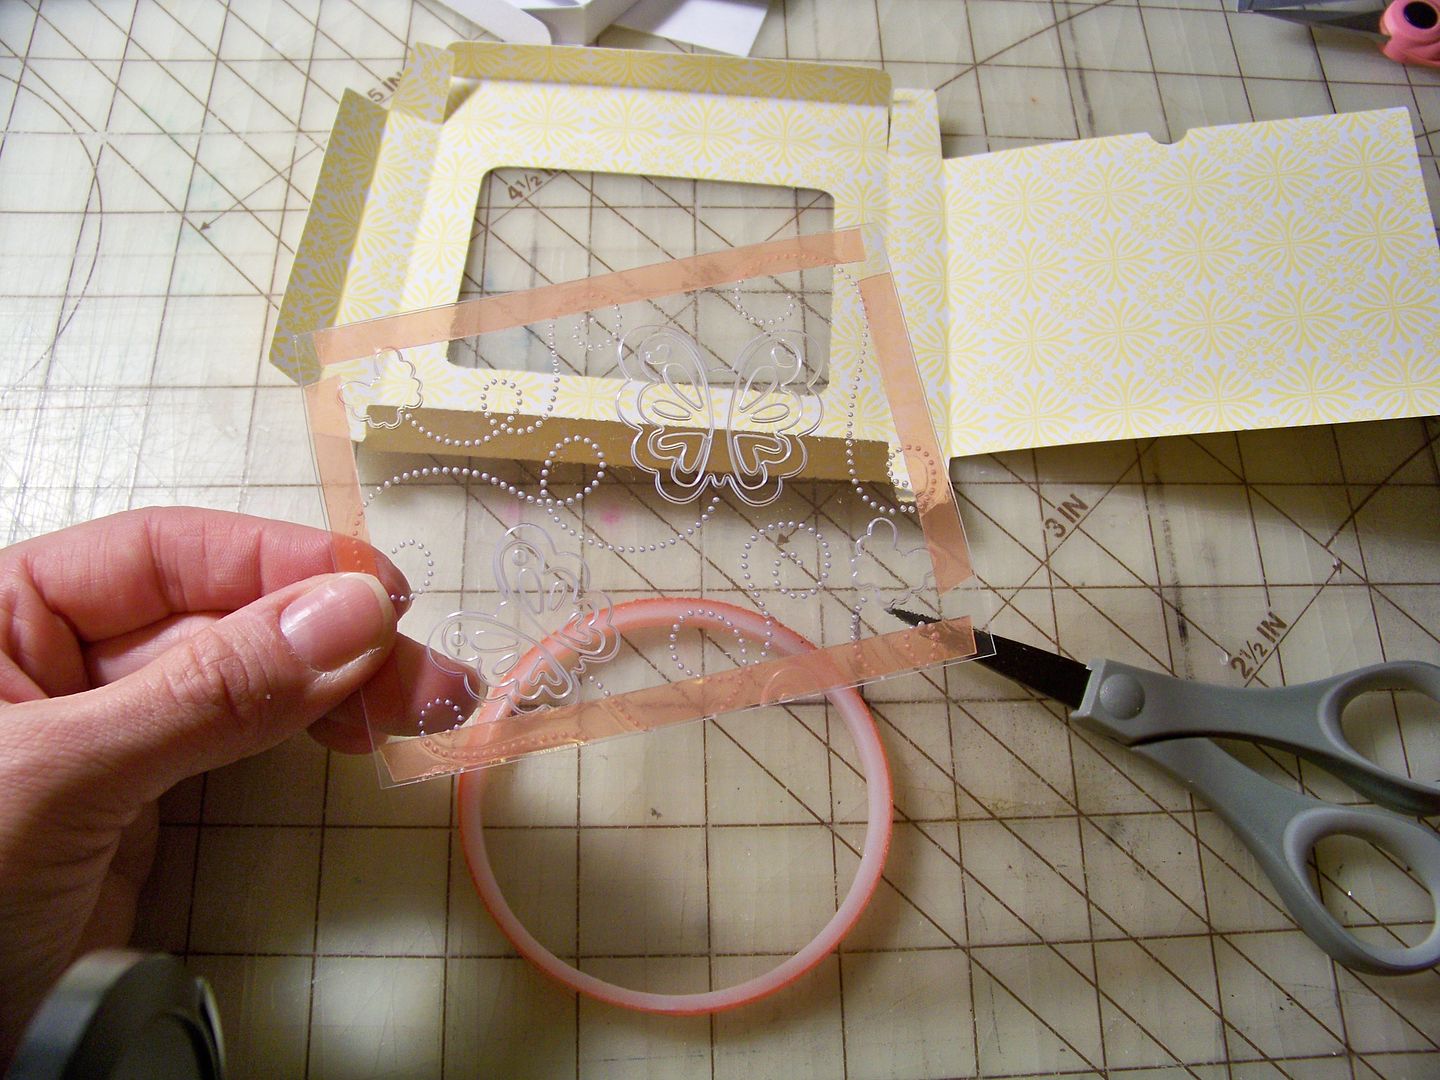
I found that the box goes together more 'square' when I use my ATG to apply tape to the bottom and right side of the back flap and fold all the sides in as shown before pressing the back flap in place, making sure to tuck in the top behind the side so it can be opened and closed once the box is glued in place.
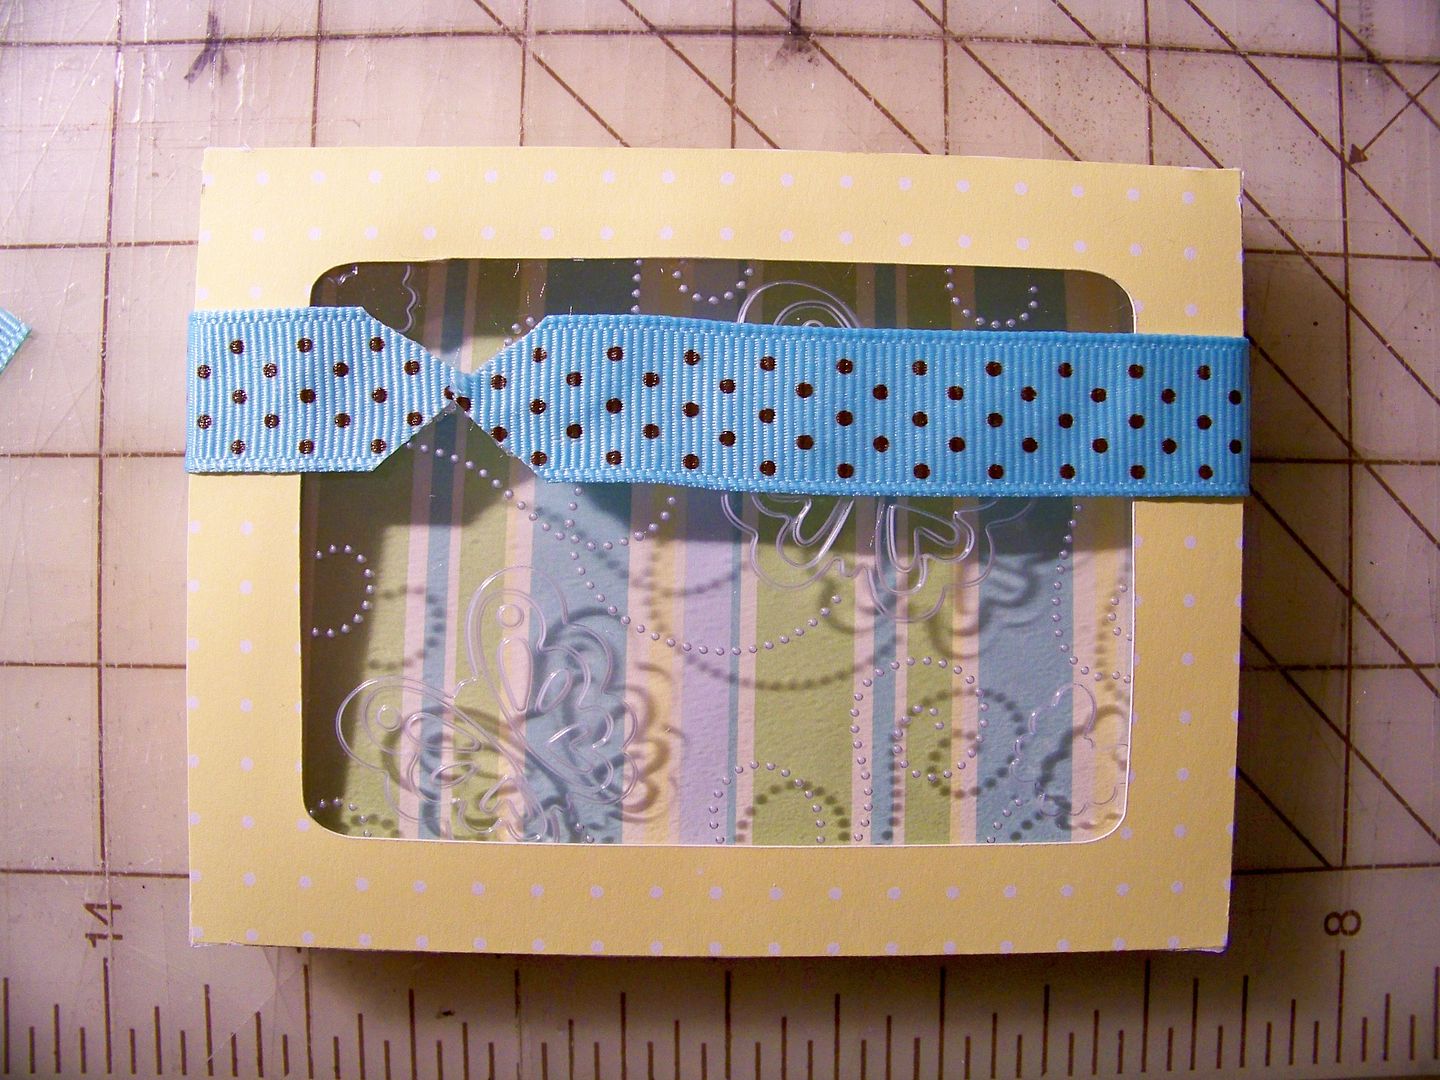
Once assembled, I added a piece of 10-3/8" ribbon, notched. I wanted to be sure Mom could easily open the box so I wrapped the ribbon around the box instead of going over the top!
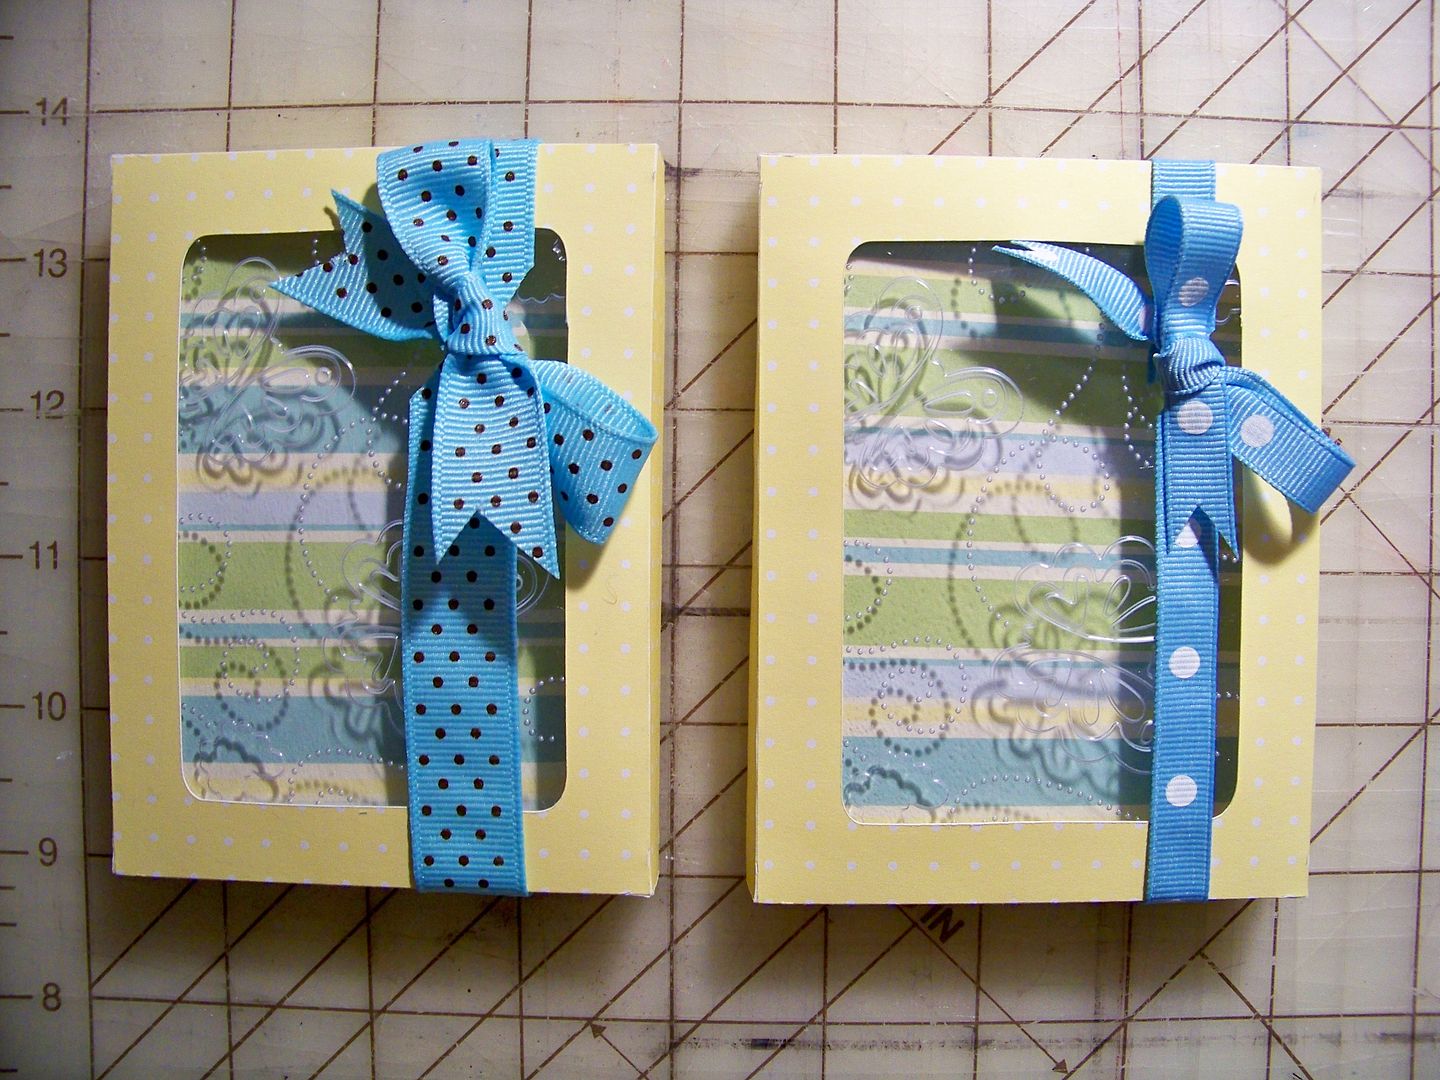
I used a separate piece of ribbon to tie the bow and attached it with E6000 adhesive so that it would remain adhered on the plastic material.
Crafty cuts:
- Box - Wild Card cut at 5-1/2"
- Card- Hand-cut 4-3/8" x 6-1/2" folded down to 4-3/8" x 3-1/4"
- Acetate for box insert- Hand-cut 4-1/8" x 3-1/8"
- Ribbon- Cut at 10-3/8" plus length for the bow
These were so fast and easy-- and so much prettier than the envelopes they came in! I loved the idea of embossing the acetate for other kinds of occasions too and had to try out my new Cloud embossing folder. It is raining here this morning, so I guess that is why a raining gift card box made sense!

Well, I guess I have goofed off enough today... now it's time to be wined and dined by my husband... and gifted by my kiddo.... ahhh, the life!
Happy Mother's Day!
11 comments:
Great projects for the Moms! Hope you had a wonderful day with Tom and Piper! Love that cloud embossing too - the raining gift card box is too darn cute!
Oh they turned out so awesome.. and i am sure will be loved by the moms...
What type of embossing folders are those? I have never seen them! I love the butterfly one and I didn't even THINK to emboss the outside shell that a cartridge comes in!! TFS I love your creation!
Thanks, Jennifer! I just used regular Cuttlebug embossing folders and the regular plates as if it were paper. I have to admit, it was really fun to emboss that plastic stuff!
I always store my plastic shell, then throw them out. Nice work. I need to save them
I saw your post on he Cricut message board and just had to come over to your blog to see your work. I'm so glad I did! I'm now a member and will be checking back often. I hope you'll stop by my blog an say hi.
Paula - www.pvcreations2010.blogspot.com
What a great project. I NEVER thought to emboss the plastic. I'm DEFINATELY going to have to try it, thanks for the inspiration!
What a great idea! I can't wait to try this! Hope you had an amazing Mother's Day. Love the embossing!
Linda
Oooo I have a lot of those acetates wating to be embossed! Thanks for the inspiration!
What type of embossing folders are those? I have never seen them! I wish to design Gift Card envelopes same like that.
Hi, saw your post while checking out Cricut FB about up-cycling. Love what you made using the plastic from the cartridge clam shell. I made a project with the free Cricut Creative Cards not so long ago with the "window" up-cycling the packaging plastic. .http://www.cricut.com/project/ViewProject/3127/Creative-Cards-Window-Gift-Card-Holder
Enjoy visiting your blog and awesome creativity.
Laura
Post a Comment