 |
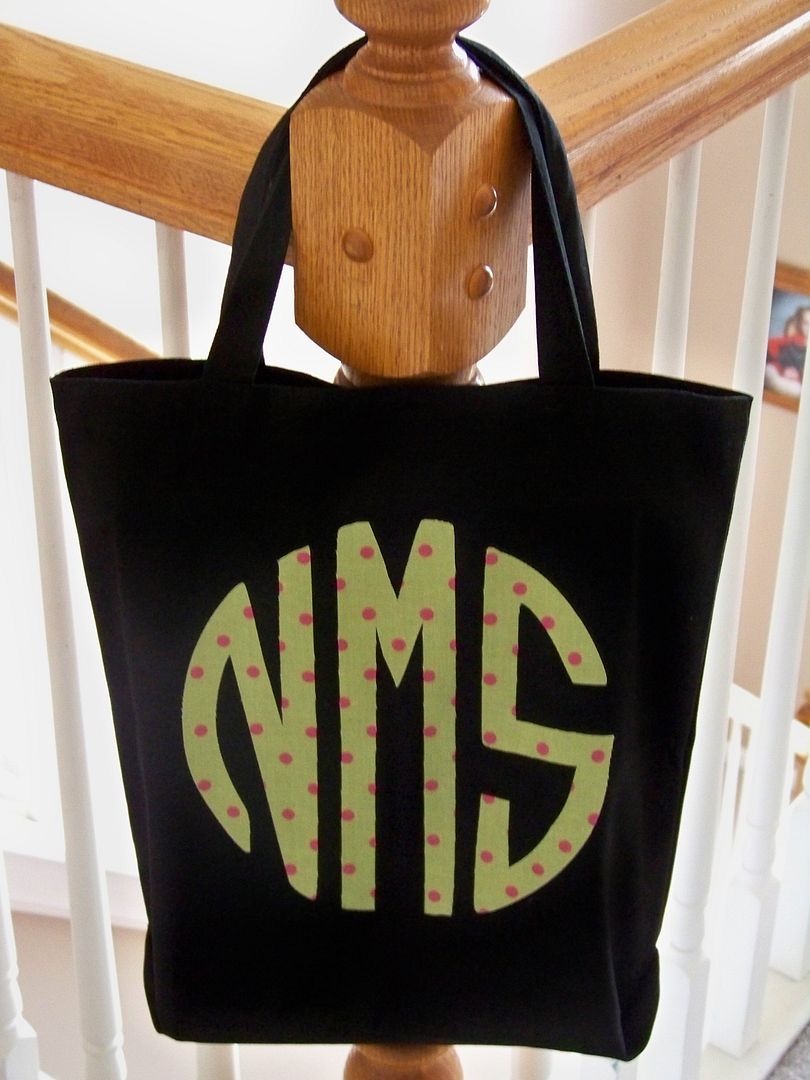
| To learn how to make monograms like this on your Explore, check out my post: click here. |
How to Cut Fabric with the Explore:
- Iron the fabric you will be cutting, as well as the fabric you will be fusing to in order to prepare them. Set the iron for the fabrics (cotton setting, etc) and use steam if that is appropriate for the fabric you have chosen (for example: steam for cotton fabric; no steam for acetate fabric). If it is something that will be washed in the future, you are advised to pre-wash it to shrink it first.
- When using fabric I have pre-washed, I spray starch onto the right side and iron it. It makes the fabric smooth, crisp, and very flat. (I find that the more like paper my fabric is, the easier it is for my Explore to cut it!)
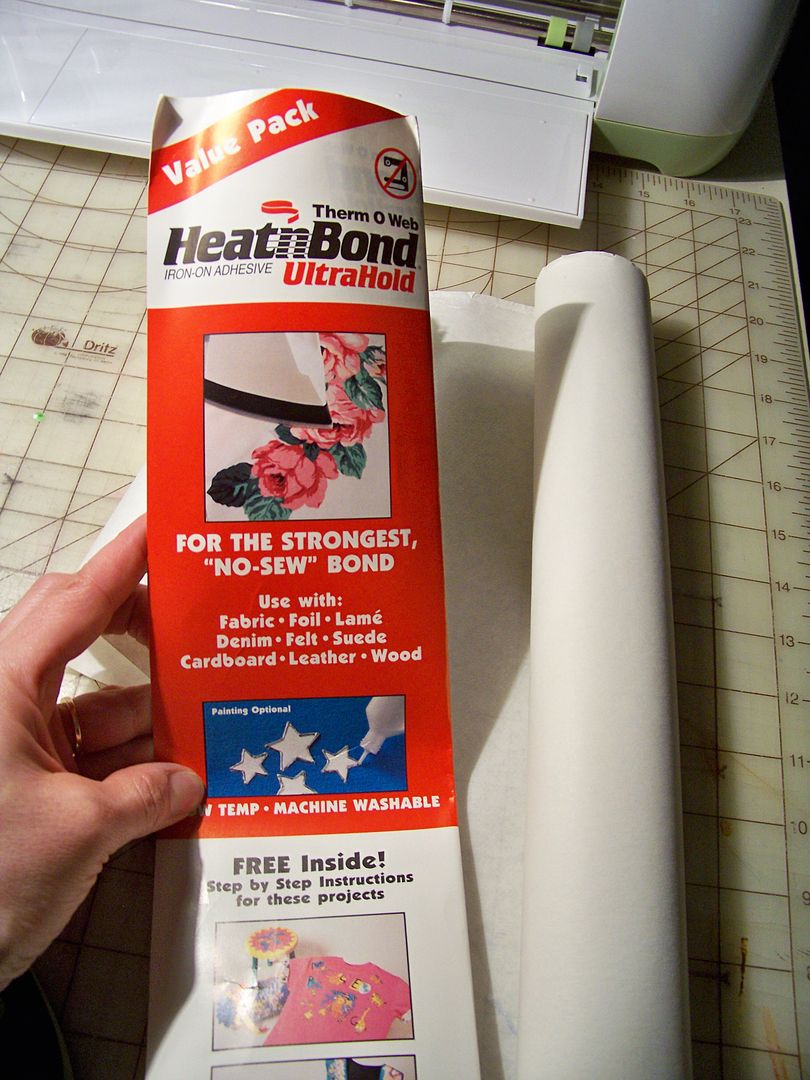
- Use your iron to fuse (press) HeatnBond Ultra Hold to the wrong side of your fabric. "Press" is different from "iron" in that you will lift and lower your iron and not move the iron over the fabric, risking a shift of the fabric on the bonding agent. Don't use steam on this step.
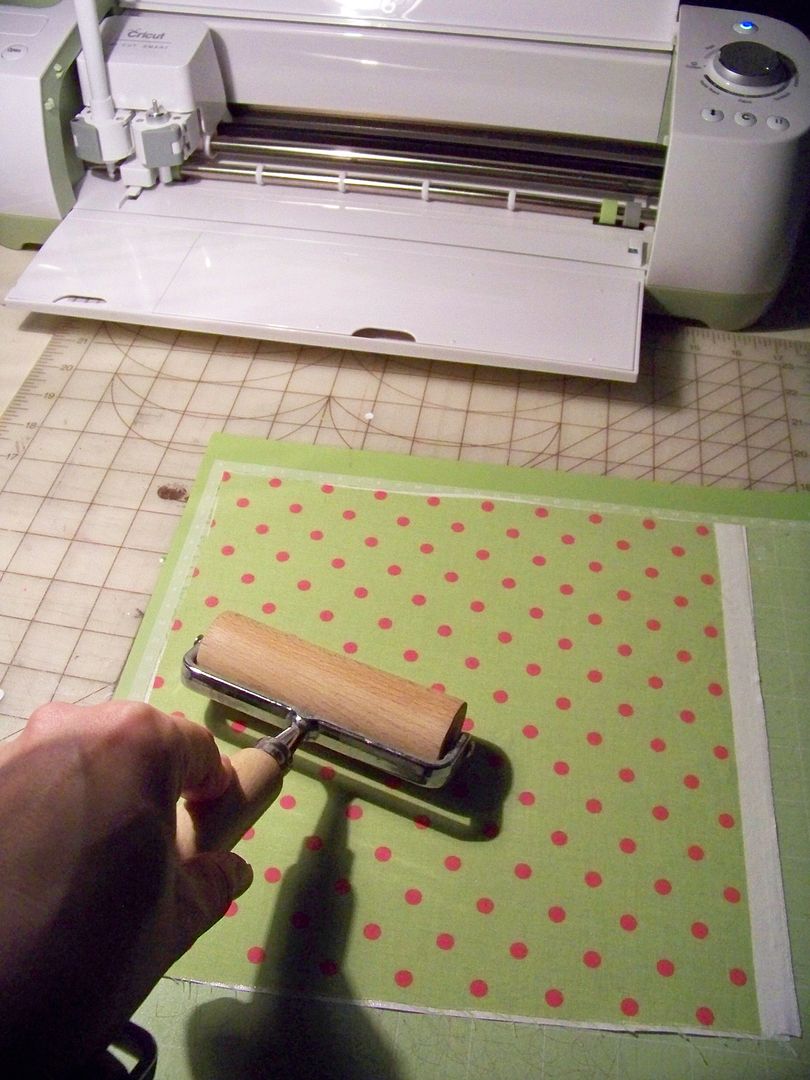
- Place your backed fabric on a very sticky mat. I just use a new mat, standard grip, but there is a Strong Grip mat available. I use a brayer to press the backed fabric into the mat. If your fabric isn't tight against the mat, the blade will likely pull and stretch the fabric.
- Cut as usual with your Explore, selecting 'fabric' on the dial. If you are using heavy fabric, you can move the dial one notch over (between 'fabric' and 'poster board' and the machine will multi-cut 2). Felt has its own setting, by the way. For cutting felt, just select "Custom" on the dial and select "felt" on the drop down box on your screen in Design Space. The felt setting will automatically multi-cut 2.
- Remove the cut from the mat, peel off the backing and press the shape you just cut to your project. Here, you can use steam if that is appropriate for the fabrics you are bonding together.
- HeatnBond, unlike SteamASteam, is not permanent after fusing. You are advised to stitch around cut edges for permanent hold. HeatnBond, however, is preferred for use as a backing because it is a smooth and even backing!
- I experimented with cutting felt, backed and unbacked, factory-backed taffeta, and quilting-weight cottons. They all cut beautifully! I did use a multi-cut when cutting the felt, but for all fabrics, I used the standard blade housing, NOT the deep cut. I also used the Standard Grip Mat.
3 comments:
I love this project. Thank you for sharing. I purchased the Explore during its launch on HSN in February. Since purchasing I have wanted to purchase a file to create the circle monograms like you used for this project. Where did you find this and how user friendly is it with the Explore? Thank for any advice you have to offer.
Valerie- you can find how I made this monogram by checking out my blog post on it. Yes, I made it on my Explore, and it was easy! Here's a link: http://www.withglitteringeyes.blogspot.com/2014/04/explore-making-monograms-from-pngs-plus.html
(A link is also now under the first photo.)
Great hint, thank you
Post a Comment